 Introduction:
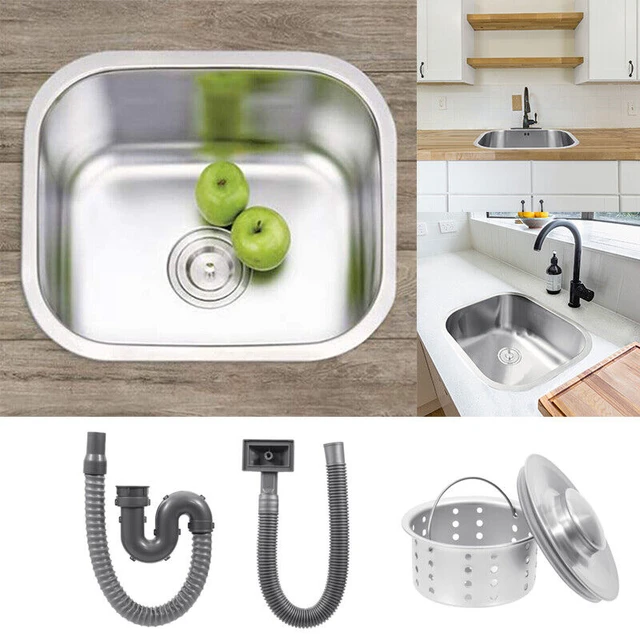
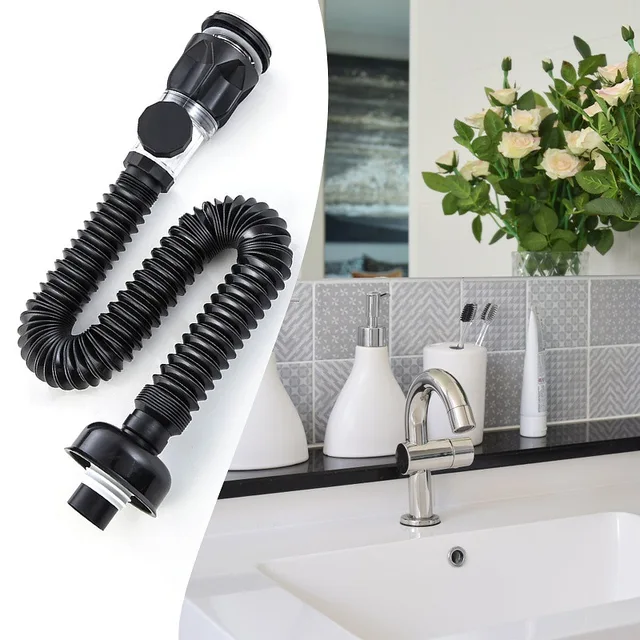
Replacing a kitchen sink drain is a common household maintenance task that can improve the functionality and prevent leaks in your kitchen sink. Whether you’re experiencing a clogged drain or a worn-out drain assembly, knowing how to replace it is essential for proper sink drainage.
In this comprehensive guide, we will walk you through the step-by-step process of replacing a kitchen sink drain. From gathering the necessary tools and materials to disassembling the old drain and installing the new one, we will cover everything you need to know to successfully complete this project.
Several materials and types of kitchen sink drains:
There are several materials and types of kitchen sink drains available. Here are some common ones:
Stainless Steel:
Stainless steel is a popular choice for kitchen sink drains due to its durability, resistance to corrosion, and easy maintenance. It blends well with most kitchen designs and is available in various finishes.
Brass:
Brass drains are known for their strength and durability. They offer a timeless and classic look to the kitchen sink and are available in different finishes, such as polished brass or brushed nickel.
Plastic:
Plastic drains are lightweight, affordable, and easy to install. They are resistant to corrosion and come in various colors. However, they may not be as durable as metal counterparts.
Composite:
Composite drains are made of a combination of materials, such as quartz, granite, or acrylic, mixed with resin. They are highly durable, resistant to staining, and available in different colors to match the sink or countertop.
Cast Iron:
Cast iron drains are heavy-duty and long-lasting. They are known for their strength and durability and are often used in vintage or farmhouse-style kitchens. They require periodic maintenance to prevent rusting.
Copper:
Copper drains add a distinctive and luxurious look to the kitchen sink. They develop a beautiful patina over time and are known for their antimicrobial properties. Copper drains require regular cleaning and maintenance to keep them looking their best.
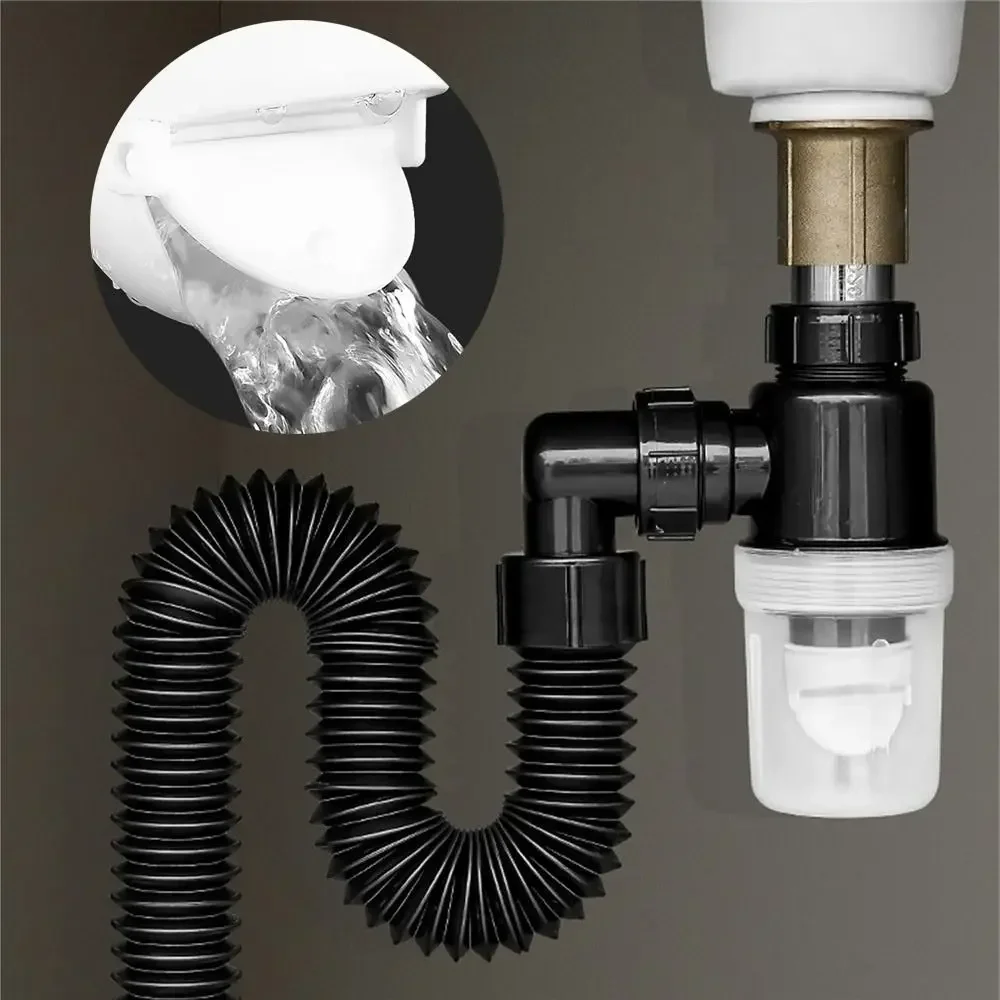
Pop-Up Drains:
Pop-up drains have a built-in stopper mechanism that allows you to control the water flow. They are convenient for filling the sink or preventing water from draining. Pop-up drains are available in various materials, including stainless steel, brass, or plastic.
When selecting a kitchen sink drain, consider factors such as compatibility with your sink, durability, style, and maintenance requirements. It’s also essential to ensure that the drain matches the plumbing system and sink configuration in your kitchen.
Gather the Tools and Materials:
Tools:
Adjustable wrench
Screwdriver (flathead or Phillips)
Plumber’s tape
Plunger (optional, for removing water from the sink)
Materials:
New kitchen sink drain assembly
Plumber’s putty or silicone caulk
Safety Precautions:
Turn Off the Water Supply:
Locate the shut-off valves under the sink and turn them clockwise to shut off the water supply.
If you don’t have individual shut-off valves, you may need to shut off the main water supply to your home.
Disassembling the Old Drain:
Remove the Drain Pipe:
Loosen the slip nut connecting the drain pipe to the bottom of the sink using an adjustable wrench.
Disconnect the drain pipe from the sink and set it aside.
Remove the Drain Flange:
Locate the drain flange, which is the visible part of the drain assembly in the sink.
Use a screwdriver to remove the screws holding the drain flange in place.
With the screws removed, carefully lift the drain flange out of the sink.
Clean the Sink Opening:
Clean the sink opening, removing any old putty or caulk residue.
Ensure the surface is smooth and free from debris for the new drain assembly.
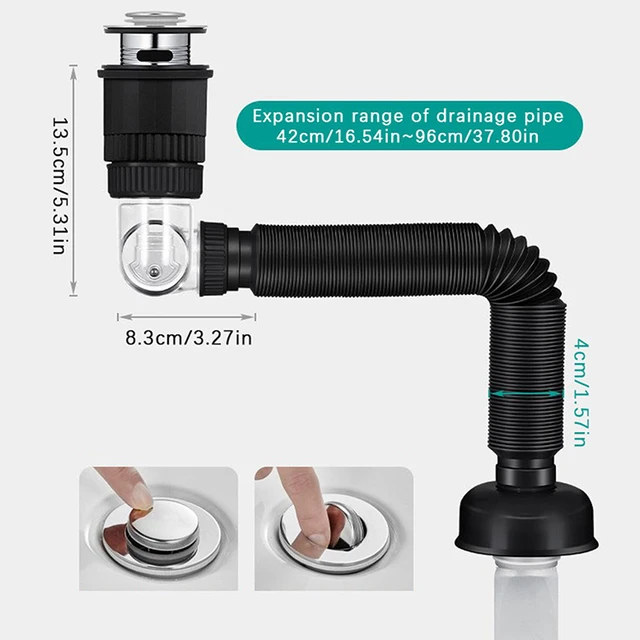
Installing the New Drain:
Apply Plumbers Putty or Caulk:
Roll a small amount of plumber’s putty or apply a bead of silicone caulk around the underside of the new drain flange.
This creates a watertight seal between the sink and the drain assembly.
Insert the New Drain Flange:
Insert the new drain flange into the sink opening, aligning it with the drain hole.
Press down firmly to secure it in place.
Install the Drain Gasket and Lock Nut:
Slide the rubber or fiber gasket onto the threaded portion of the drain flange, ensuring it is centered.
Screw the lock nut onto the drain flange, tightening it by hand.
Tighten the Lock Nut:
Use an adjustable wrench to further tighten the lock nut until it is snug.
Be careful not to overtighten, as it may damage the sink or the gasket.
Reassembling the Drain Pipe:
Apply Plumber’s Tape:
Wrap a few layers of plumber’s tape clockwise around the threads of the sink drain outlet.
Attach the Drain Pipe:
Reattach the drain pipe to the sink drain outlet, ensuring the slip nut is tightened securely.
Use an adjustable wrench to tighten the slip nut until it is snug.
 Testing and Finishing:
Turn On the Water Supply:
Turn on the water supply valves under the sink to restore water flow.
Check for any leaks around the new drain assembly.
Check for Proper Drainage:
Run water through the sink to ensure proper drainage.
Test the new drain assembly by observing how quickly the water drains away.
Clean Up:
Clean up any excess plumber’s putty or caulk from around the drain assembly.
Wipe down the sink and surrounding area to ensure a clean and tidy finish.
Maintenance and Care:
Regular Cleaning:
Clean the drain assembly regularly to prevent buildup and maintain proper drainage.
Use a sink brush or pipe cleaner to remove any debris or residue.
Addressing Clogs:
If you experience a clogged drain, try using a plunger or a drain snake to remove the blockage.
Avoid using harsh chemical drain cleaners, as they can damage the drain assembly and pipes.
 Conclusion:
Knowing how to replace a kitchen sink drain is a valuable skill that can save you time and money on plumbing repairs. By following the step-by-step guide outlined in this comprehensive article and gathering the necessary tools and materials, you can successfully replace a kitchen sink drain. Remember to prioritize safety, take your time during the disassembly and installation process, and test for proper drainage and any potential leaks. With proper care and maintenance, your new drain assembly will provide efficient and reliable sink drainage for years to come.