Creating a picture frame may seem like a simple task, but achieving perfect corners and edges can elevate your craftsmanship to a professional level. Whether you want to display cherished photographs, artwork, or other mementos, understanding how to build a picture frame with precision is essential. This comprehensive guide explores various techniques, tools, and materials you’ll need while providing valuable tips to create flawless edges.
Choosing the Right Materials for Your Picture Frame
When embarking on the journey of how to build a picture frame, your choice of materials significantly impacts the quality and appearance of the final product. You have various options, including wood, metal, and plastic, each with its own characteristics.
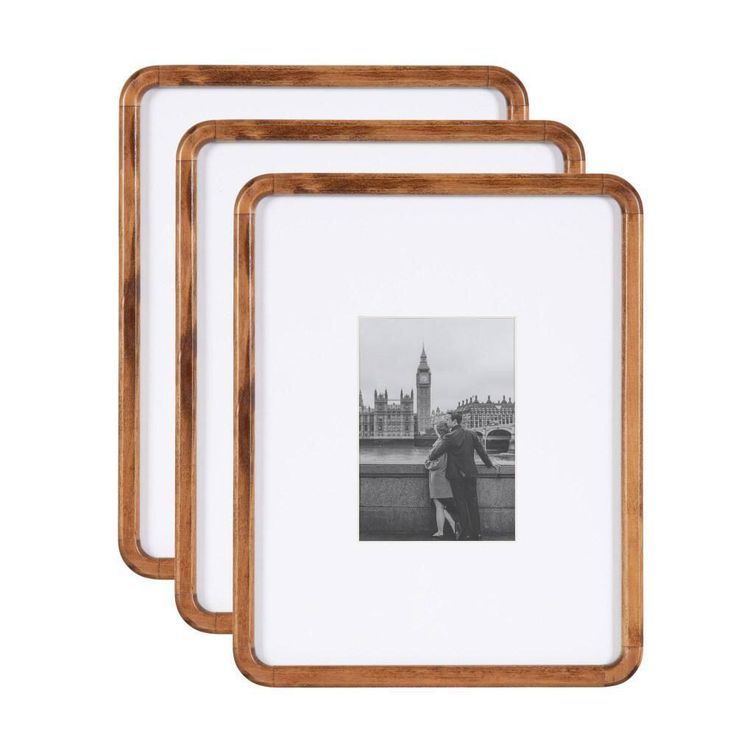
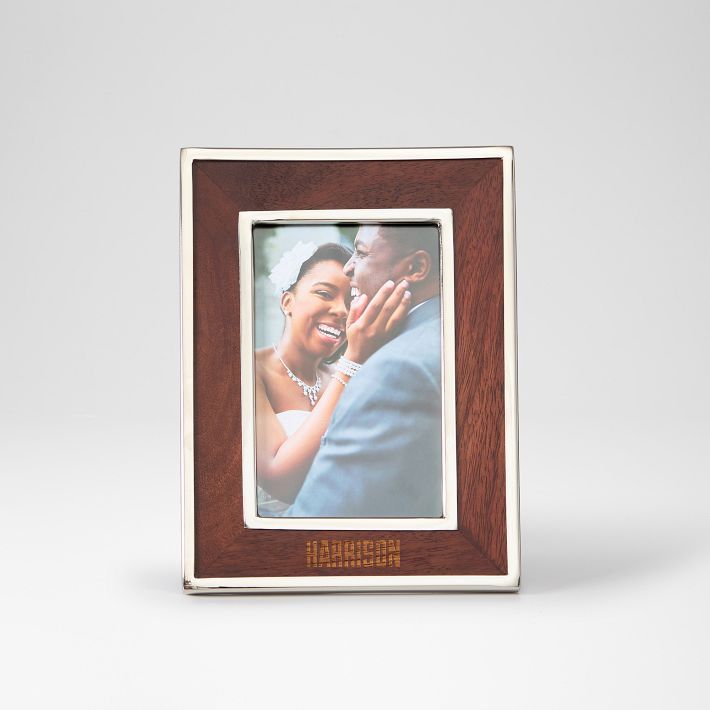
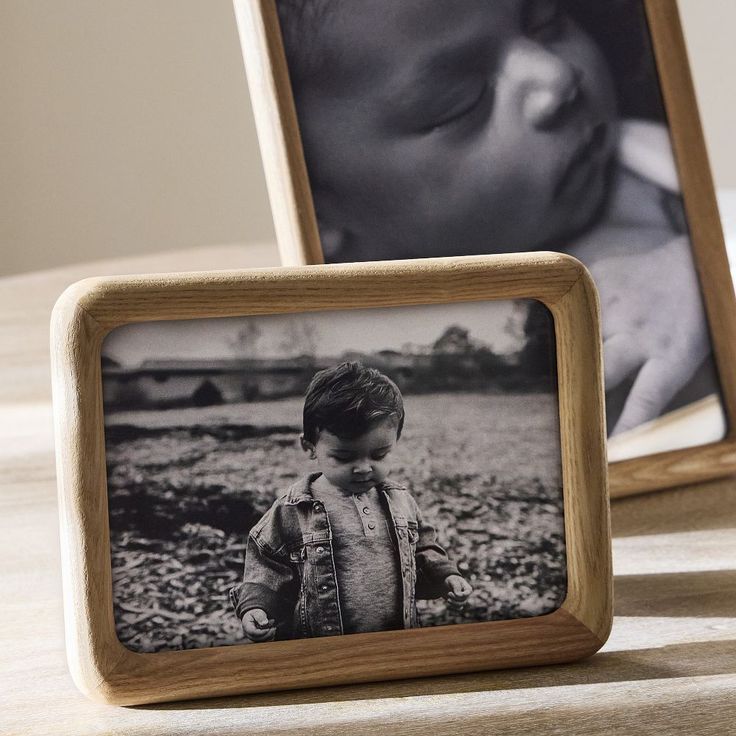
For a classic and timeless look, wood remains an unrivaled choice. It offers warmth and flexibility, allowing for a variety of finishes, shapes, and styles. However, not all wood types are created equal. Softwoods like pine and spruce are more prone to dents and scratches, while hardwoods such as oak, maple, and walnut provide greater durability. Selecting a high-quality piece of wood will help ensure the edges remain sharp and precise, making a substantial difference in your frame’s appearance.
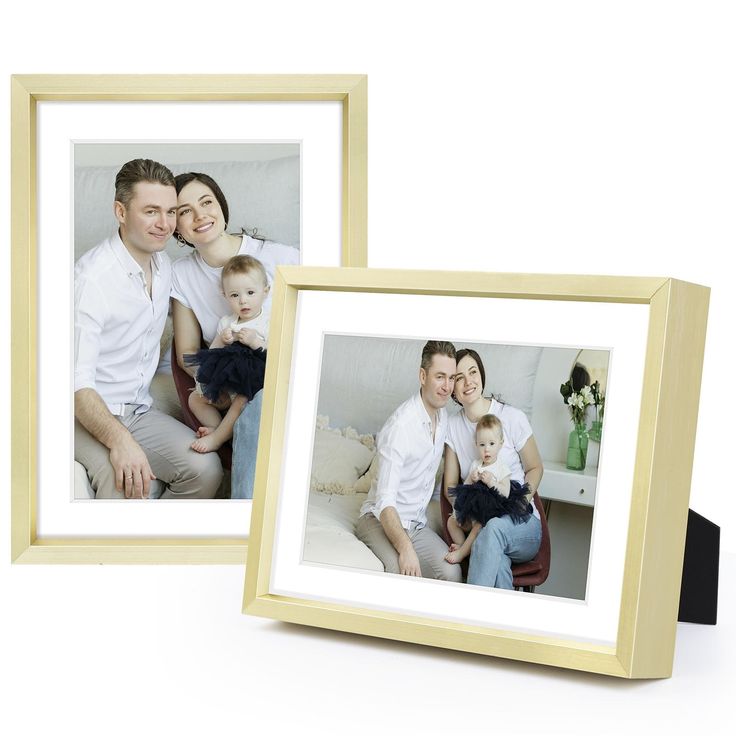
If you prefer a modern aesthetic, consider using metal frames. Aluminum, for instance, provides a sleek, minimalist look that fits contemporary interiors perfectly. Metal frames require specialized cutting tools to achieve clean edges, so ensure you have the right equipment on hand. Plastic frames, often less expensive and lightweight, can also be a viable option for casual use but may lack the sophistication of wood or metal.
In summary, consider your aesthetic preferences, budget, and intended use when selecting the right material as you learn how to build a picture frame. The choice directly influences your design’s durability and overall appeal.
Essential Tools for Building a Picture Frame
Equipping yourself with the right tools significantly streamlines the process of how to build a picture frame. Each tool contributes to different aspects, ensuring that your edges remain crisp and professional-looking.
Firstly, a high-quality miter saw will be instrumental in cutting your wood or metal at precise angles. This tool enables you to achieve 45-degree angles easily, which are essential for the corners of your frame. If your project involves thicker materials, consider investing in a table saw or a circular saw for added efficiency.
Alongside cutting tools, you’ll need measuring tools, including a tape measure and square. Accurate measurements ensure that your pieces align perfectly, contributing to the overall symmetry of the frame.
Additionally, clamps will help secure your joints while the glue dries. Choose quality, sturdy clamps to maintain pressure during the drying process. For joining the corners, wood glue provides a strong hold; however, you may also opt for screws or brackets depending on your material choice.
Finally, sandpaper and a sanding block will refine the edges and surfaces, ensuring that they are smooth and ready for finishing. Begin with a coarser grit and transition to a finer grit for the best results. Having these essential tools at your disposal will simplify the process of how to build a picture frame and enhance the final product.
Measurements: Getting the Dimensions Right
Understanding how to build a picture frame starts with accurate measurements. Taking the time to measure your materials properly prevents mistakes and ensures a snug fit for the item you plan to display.
Start by determining the size of the artwork or photo you will frame. Measure its height and width, noting these dimensions. Next, add a little extra space for the glass or acrylic sheet that will protect your piece. Typically, one-eighth of an inch on each side provides enough leeway without sacrificing aesthetics.
After calculating the overall dimensions, mark these measurements on your wood or chosen material. Ensure you use a straight edge, such as a ruler, to draw clear lines for cutting. Providing attention to detail during measuring and marking eliminates future adjustments and compromises on edge quality.
When it comes to corners, 45-degree angles are essential for creating seamless edges. Use your square to mark where to make your miter cuts accurately. By following these initial guidelines, you can avoid common issues that arise during the framing process. Taking the time to measure correctly allows you to continue with confidence as you learn how to build a picture frame with precision.
Cutting Techniques for Clean Edges
Once you have your measurements marked, it’s time to focus on cutting your materials. The technique used in cutting plays a significant role in achieving sharp, clean edges during the process of how to build a picture frame. Proper cuts prevent gaps and overlaps that can detract from the overall appearance.
Utilize a miter saw for angled cuts, ensuring the blade is sharp and correctly aligned. Set the saw to a 45-degree angle, and carefully guide your material through the blade, maintaining steady pressure. Avoid rushing this process; a steady hand produces a clean cut, minimizing the need for sanding or adjustments later.
For edge cuts, remember to support the entire length of the material as you cut. Sagging pieces could lead to uneven edges. If you’re working with thicker wood, a table saw might be more suitable, allowing you to cut through the material smoothly.
Before moving on to assembling your frame, double-check your cuts against your measurements. Ensuring that each piece fits snugly together is vital for preventing gaps at the corners. This attention to detail lays the foundation for a successful build and enhances the visual appeal of your finished frame.
Assembling the Picture Frame: Joining the Corners
After cutting your pieces, the next step in how to build a picture frame involves assembling the frame by joining the corners. The method you choose for joining will influence the strength and aesthetics of the final product.
Begin by laying out the four pieces of your frame in a square or rectangular shape, ensuring everything aligns correctly. Apply wood glue to the ends of each cut piece, focusing on where they will meet at the corners. Then, align the edges and press the pieces together firmly. Use clamps to hold everything in place while the glue dries, which usually takes a few hours.
If you desire a more robust assembly, consider reinforcing the corners with screws or other fastening methods, such as corner brackets. If you go this route, drill pilot holes to prevent the wood from splitting. Tighten the screws until the frame feels solid but avoid overtightening, which can cause damage.
Inspect the frame for any gaps between pieces. If you notice unevenness, you can sand those areas down after the glue dries. Crafting strong joints ensures longevity in your frame, allowing it to protect your artwork effectively.
Sanding and Finishing Your Picture Frame
After assembling your picture frame, focus on sanding and finishing it for a polished look. This step greatly improves the aesthetics of your creation, making it appear more professional as you learn how to build a picture frame.
Begin sanding with a coarse grit sandpaper to remove any rough spots or imperfections. Pay special attention to the edges and corners because they need to feel smooth against touch. Work gradually through finer grits to achieve the desired finish. For instance, transitioning from 80-grit sandpaper to 220-grit will help refine the surface without scratching it. You want to achieve a flawless feel to enhance visual appeal.
Once you finish sanding, consider applying a finish to your frame. You have several options, including paint, stain, or a clear coat. The choice depends on the aesthetic you wish to achieve. If you opt for paint, use acrylics for easy application and quick drying. For a more natural look, consider wood stains to highlight the grain and texture of the wood.
After applying your finish, let everything dry thoroughly. Be patient during this stage, as rushing may compromise the quality. Once dry, your frame will be ready to showcase your artwork, demonstrating your craftsmanship and skill.
Tips for Inserting Your Picture and Glass
Now that you’ve built a beautiful picture frame, it’s time to insert your artwork and any protective materials. This part of how to build a picture frame requires care to ensure that the image remains unharmed and looks fantastic in its new setting.
Start by cleaning the glass or acrylic sheet that will safeguard your picture. Any dust or smudges will become glaringly obvious once the frame is complete. Use a glass cleaner or a microfiber cloth to wipe it down thoroughly before placing it in the frame.
Next, lay your frame flat with the back facing up. Position the glass sheet against the back of the frame, ensuring it covers the entire opening. Place your photo or artwork directly onto the glass, making sure it’s nicely centered.
Once everything is aligned, secure the back of the frame. Most frames come with clips, fasteners, or even a folding back to hold everything in place. Make certain that the back is securely fastened to prevent the picture from shifting.
Finally, carefully lift the frame and check if everything looks aligned. Making adjustments before hanging or displaying ensures satisfaction with your final product. Once secured, your frame is ready to enhance your living space.
Conclusion: Enjoying Your Perfected Picture Frame
Learning how to build a picture frame with perfect edges requires attention to detail and craftsmanship. With patience, the right materials, and tools, you can create something that delights and effectively protects your cherished photos or artwork. By following this guide, you’ve mastered essential techniques in measuring, cutting, assembling, sanding, and finishing.
Now, display your handiwork proudly and enjoy the warmth it brings to your space. Your completed picture frame will not only showcase your favorite memories but will also serve as a testament to your skills and creativity. Embrace the journey of crafting, and let this experience inspire you to tackle more projects in the future. Each frame you create can enhance your skills further, contributing to an ever-evolving crafting journey.