What You Need to Begin Sharpening
Before diving into how to sharpen a kitchen knife, let’s ensure you have the right tools. Sharpening knives is straightforward if you prepare adequately. So how to sharpen kitchen knife? Here’s what you’ll need:
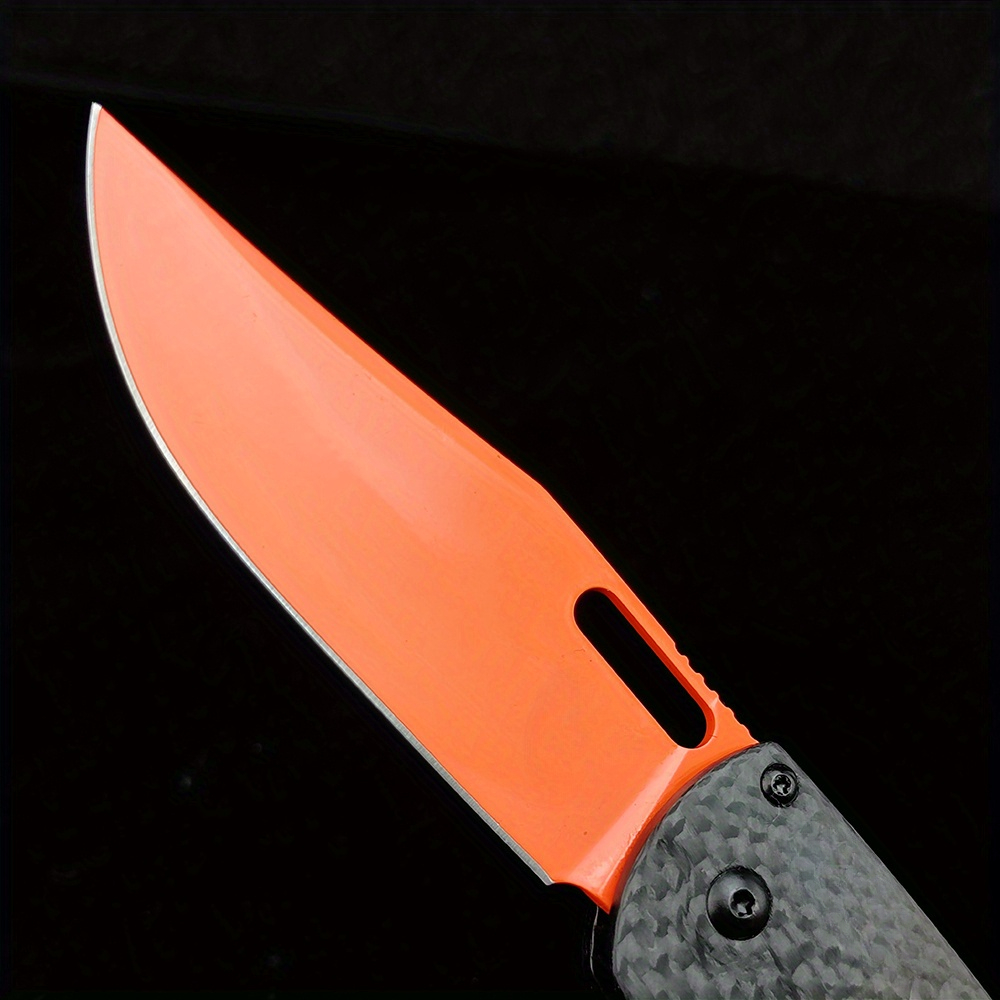
- A dull knife: The one that needs sharpening.
- Double-sided whetstone: Opt for one with different grit sizes; coarse (1,000) and fine (6,000) grits are common for starters.
- Bowl of water: To soak and wet the stone when needed.
- Towel: To keep the stone steady and clean up.
Ensure your whetstone is of quality material, capable of refining your knife edge efficiently. The double-sided feature offers a two-in-one solution; use the coarser side for dull edges and the finer grit for polishing. It’s crucial to have a water source close as soaking the stone helps create the required slurry for effective sharpening. Lastly, a towel under the stone prevents slippage, making the sharpening process safe and stable. Once you gather these essentials, you’re set to start sharpening.
Understanding Whetstones
Understanding whetstones is crucial for effective knife sharpening. Whetstones, made of harder-than-steel materials, sharpen your kitchen knives efficiently. These stones vary in material, shape, and size. They could be natural stones or synthetic versions. Each type has distinct features and benefits. Whetstones require soaking in water before use, which helps in the sharpening process. The water forms a slurry on the stone, aiding in refining the knife’s edge. Learning about different types of whetstones can greatly enhance your sharpening skills.
Picking the Right Whetstone
Choosing the correct whetstone is vital for effective knife sharpening. The right whetstone ensures your knife gets the proper treatment for its edge and durability. Here are essential factors to consider when selecting a whetstone:
- Grit Size: Whetstones come in various grit sizes. Typically, a whetstone with 1,000 grits is excellent for repairing and shaping dull blades. On the other hand, a 6,000 grit stone is perfect for refining and polishing the knife’s edge. For beginners, a double-sided whetstone with these two grit sizes is ideal, covering the entire sharpening process from coarse to fine.
- Material: Whetstones can be either natural or synthetic. Natural stones often provide a finer grit and are long-lasting but tend to be more expensive. Synthetic stones are more consistent in material quality and are cost-effective. Your choice depends on your budget and sharpening needs.
- Size and Shape: The size of the whetstone should match the length of your knife blade. A larger stone is versatile and suitable for various knife sizes, while a smaller one may be more portable. The shape of the stone, whether rectangular or another form, should provide comfort and ease during the sharpening process.
- Type of Whetstone: Some whetstones require oil and others water to lubricate the surface. Water stones are more common for kitchen knives as they are easier to prepare and clean up. Decide which type you prefer based on the ease of preparation and maintenance.
Consider these factors to select the right whetstone that matches your needs and enhances your knife sharpening skills.
Sharpening Process Step-by-Step
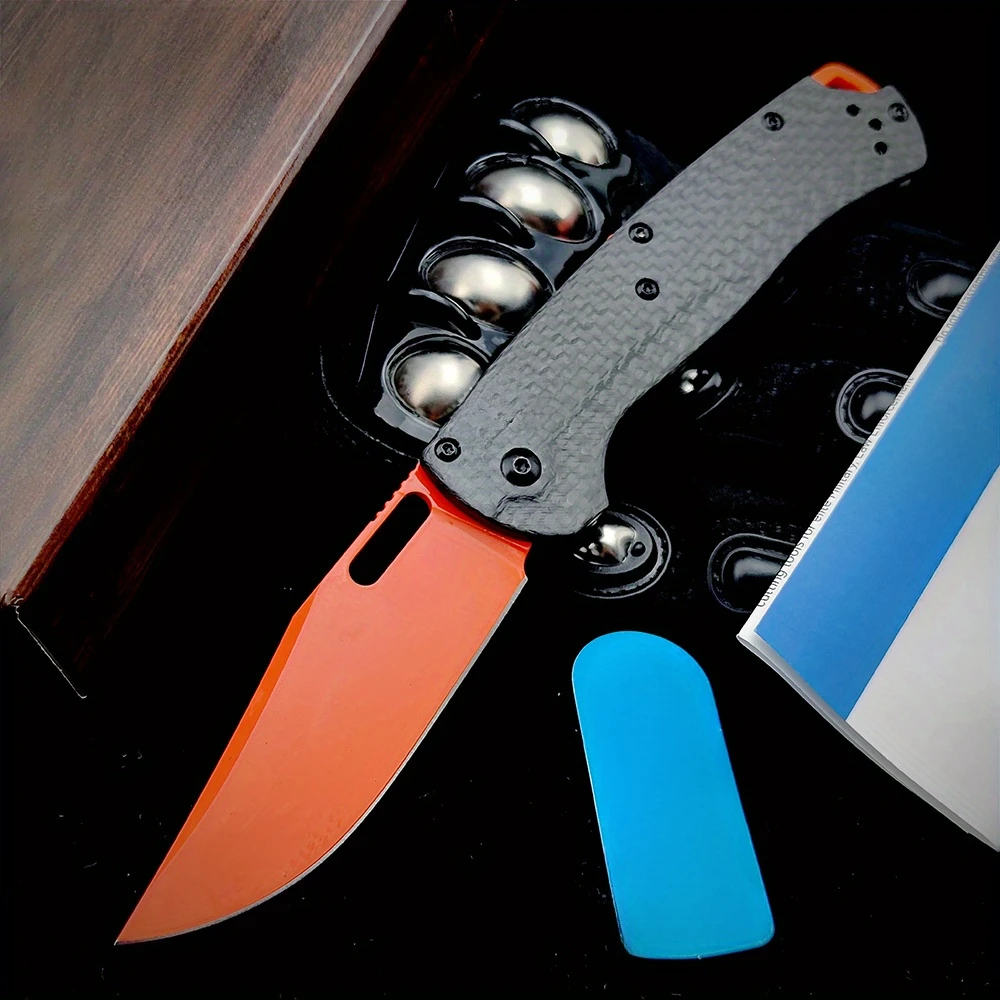
Now that you’re familiar with the necessary tools and have picked the right whetstone, let’s break down the sharpening process into simple steps. This systematic approach will help you sharpen your kitchen knife like a pro with ease and precision.
- Step 1: Soak the Whetstone: Begin by immersing your double-sided whetstone in water. Keep it submerged until no more bubbles emerge. This could take a few minutes. The soaking ensures the stone’s surface is ready for sharpening.
- Step 2: Set the Angle: For consistent sharpening, the angle is key. A commonly suggested angle is about 20 degrees for kitchen knives. Place the knife against the stone’s surface at this angle. Keep the blade’s edge in line with the stone.
- Step 3: Begin Sharpening: Using the coarse side of the whetstone (1,000 grit), push and pull the knife across the stone with light to moderate pressure. Only apply pressure on the knife as you pull it towards you to avoid damaging the stone or the knife’s edge.
- Step 4: Check for a Burr: After several strokes, feel for a small ridge on the knife’s edge, indicating the formation of a burr. This burr means you’ve sharpened one side enough and it’s time to flip the knife and repeat the process.
- Step 5: Flip the Stone: Once both sides have a burr, it’s time to refine the edge. Flip the whetstone to the fine side (6,000 grit) and polish the knife’s edge with gentler strokes.
- Step 6: Test the Sharpness: After polishing, test the knife’s sharpness carefully on a piece of paper or tomato. A sharp knife should cut smoothly and with minimal effort.
This step-by-step approach makes sharpening your kitchen knife with a whetstone straightforward. Remember to maintain a consistent angle throughout and take your time. The keyword ‘how to sharpen kitchen knife’ is not just a search term but a skill that, once mastered, will enhance your culinary prep significantly.
Honing vs. Sharpening: What’s the Difference?
Honing and sharpening are both crucial for maintaining kitchen knives, but they serve different purposes. Sharpening involves removing material from the blade to create a new, sharp edge. This process is typically done using a whetstone. On the other hand, honing straightens the existing edge without removing much, if any, metal. You use a honing steel, not a stone, for this task.
Sharpening is necessary when the blade becomes dull and can no longer perform cutting tasks efficiently. This usually requires following specific steps on a whetstone with varying grit sizes. Honing, however, is done more frequently to maintain the edge between sharpening sessions. It ensures the knife’s edge is straight and ready for effective cutting.
In essence, think of sharpening as a way to reshape and redefine the blade’s edge and honing as a method to fine-tune it. Regular honing can extend the time between sharpening sessions, making it a beneficial skill to master for anyone using kitchen knives.
Essential Sharpening Tips for Beginners
Sharpening a kitchen knife is not daunting when you know the basics. Here are crucial tips to ensure you get the best edge on your blades every time.
- Start with a Clean Whetstone: Before you begin, make sure your whetstone is clean. Dirt or debris can affect the sharpening process.
- Use Light, Consistent Pressure: Apply even pressure as you slide the knife across the stone. Too much force can damage both your knife and the stone.
- Maintain the Right Angle: Keep a consistent angle of approximately 20 degrees between the knife and the stone. This angle helps create a sharp edge that is also durable.
- Check for a Burr Frequently: Feel along the edge of the blade for a burr, a slight rough edge that indicates the knife is beginning to sharpen. This helps you ensure that you are applying enough pressure.
- Don’t Rush the Process: Take your time with each stroke. Rushing can lead to mistakes that might damage your knife or result in an uneven edge.
- Flip the Knife Regularly: Work both sides of the blade equally to ensure an evenly sharpened edge. Ignoring one side can lead to a blade that is sharper on one side.
- Finish with the Fine Grit: After using the coarse side to shape the edge, switch to the fine grit to polish and refine it. This step is crucial for achieving a razor-sharp finish.
- Clean Your Knife Right After Sharpening: Once done, wash and dry your knife immediately to remove any metal particles or stone slurry.
These beginner tips for ‘how to sharpen kitchen knife’ are fundamental. They build the foundation for more advanced techniques in knife sharpening.
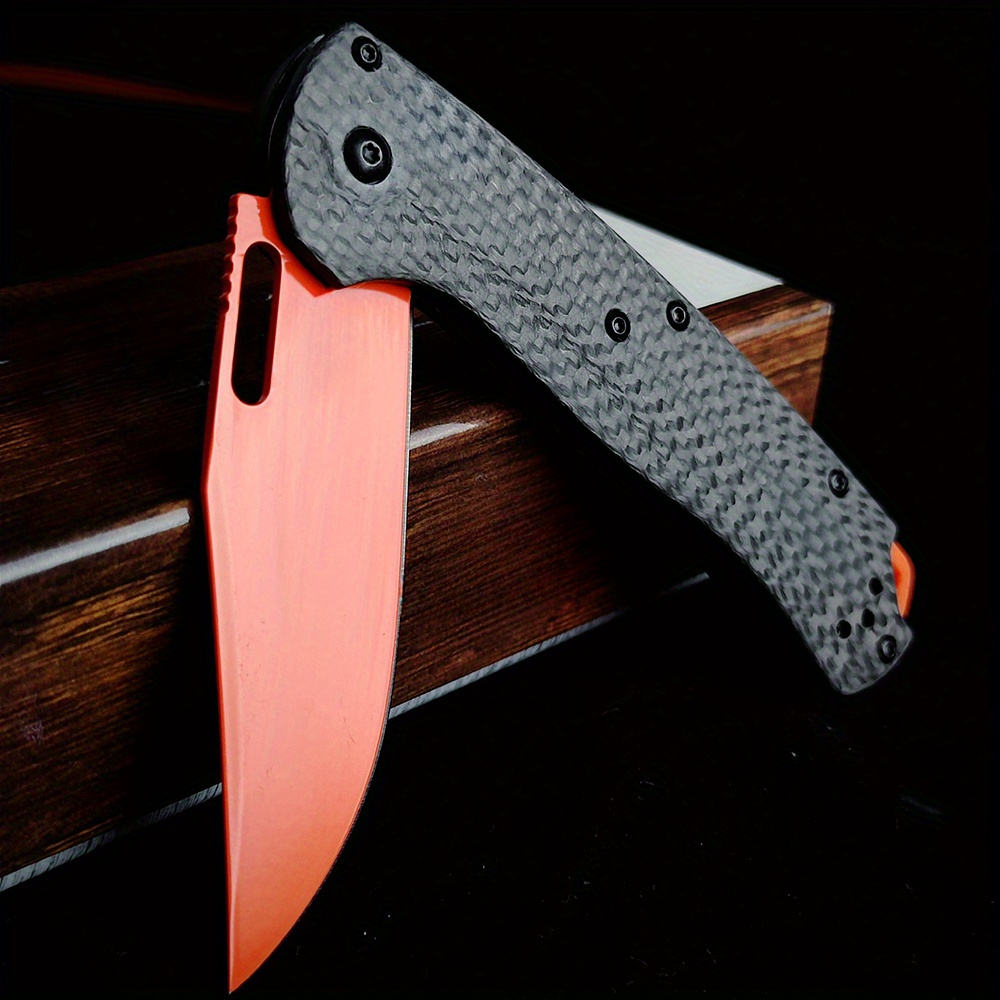
Taking Your Skills Further: Advanced Sharpening Techniques
Once you’re comfortable with basic knife sharpening, you can explore advanced techniques. Advanced methods help you achieve a professional level of sharpness. Here are some tips to take your sharpening skills further:
- Use Multiple Grit Stones: Start with coarser grits for reshaping. Progress to finer grits for ultimate sharpness. Having a range, such as 400, 1000, and 6000 grit stones, will cover all your needs.
- Consider a Strop: After using fine grit stones, use a leather strop. This tool aligns the micro-edge of the blade, enhancing sharpness. Stropping makes the edge mirror-like and sharp.
- Learn Different Angles: Different cutting tasks might require various blade angles. Experiment with angles from 15 to 20 degrees based on knife use.
- Use a Sharpening Guide: For consistency, a sharpening guide controls the angle. This tool helps maintain the same angle during the sharpening process.
- Practice Chip Repairs: For chips or nicks, start with very coarse stones. Work carefully to reshape the edge before fine sharpening.
- Maintain Even Wear on Stones: Rotate stones during sharpening. This practice prevents uneven wear and keeps the stone surface level.
- Use Slurry: Create a slurry on your whetstone with water for better sharpening. The slurry helps grind down rough edges effectively.
By mastering these advanced techniques, you’ll ensure your knives are always in top condition. Remember, practice makes perfect. Regular practice will refine your technique and speed.
Maintaining the Sharpness of Your Kitchen Knives
Once you’ve mastered how to sharpen kitchen knives, maintaining that sharpness is crucial. A keen edge is essential for efficient and safe food prep. Follow these guidelines to keep your knives at their best:
- Regular Honing: Use a honing steel to straighten the knife’s edge before each use. This practice maintains sharpness and prolongs times between full sharpenings.
- Proper Storage: Store knives in a block or on a magnetic strip. This prevents the edges from becoming dull by contact with other utensils.
- Avoid Dishwashers: Always hand-wash your knives. Dishwashers can harm knife edges and handles.
- Use Appropriate Cutting Surfaces: Stay away from hard surfaces like glass or metal. Opt for wood or plastic cutting boards to minimize edge wear.
- Immediate Cleaning: After use, clean your knife right away. Dried-on food can lead to unnecessary scraping that dulls the blade.
- Regular Check-ups: Periodically check your knives for dullness. When a knife stops performing well, it’s time for a whetstone touch-up.
- Professional Sharpening: If you’re unsure, seek professional sharpening services once in a while. Pros can restore a knife’s edge to optimal sharpness.
By upholding these maintenance habits, your knives will remain sharp and dependable for cooking tasks.
