Introduction
Creating a knife holder at home can be a fun and rewarding project. A knife holder not only helps keep your knives organized but also adds a charming touch to your kitchen decor. You don’t need to be a master carpenter or a professional craftsman to make one. With the right materials and some simple steps, anyone can create a diy knife holder that perfectly fits their style and needs. Let’s explore how to get started!
Understanding the Importance of a Knife Holder
Before diving into the DIY process, it’s essential to understand why a knife holder is so important. Knives are one of the most used tools in the kitchen. They can be dangerous if not stored correctly. A knife holder keeps them organized and within reach. It also protects knife blades from becoming dull, which happens if they clash with other utensils. Additionally, having a dedicated space for your knives can prevent accidents and injuries.
Moreover, a knife holder can also enhance the aesthetics of your kitchen. Instead of hiding your knives away in a drawer, displaying them can show off their beauty. Many people enjoy the sleek design of high-quality knives and believe they should be showcased. A DIY knife holder lets you customize the design, height, and material to suit your kitchen’s theme.
Choosing the Right Material
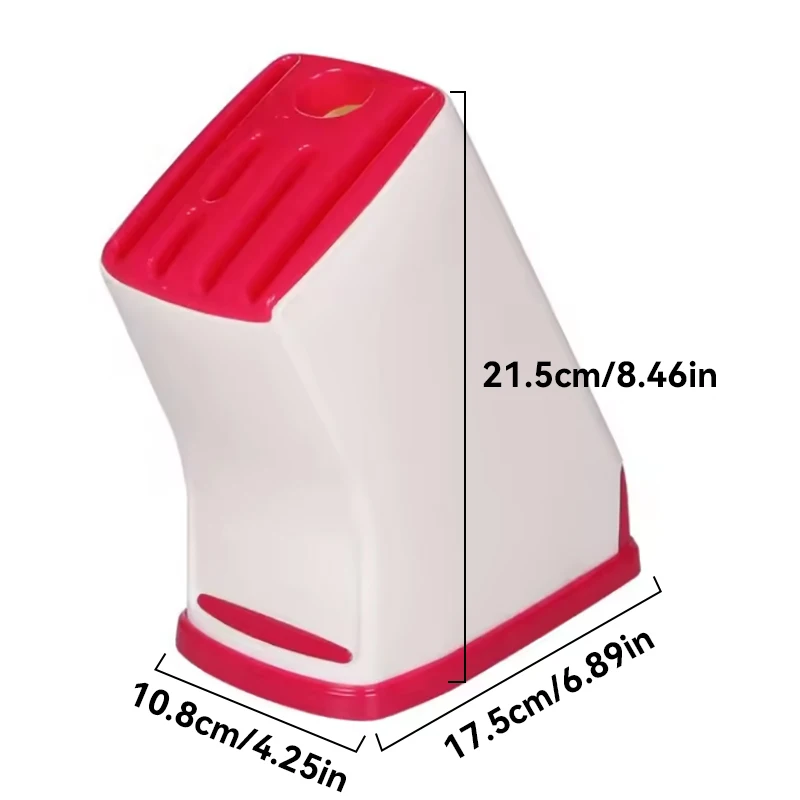
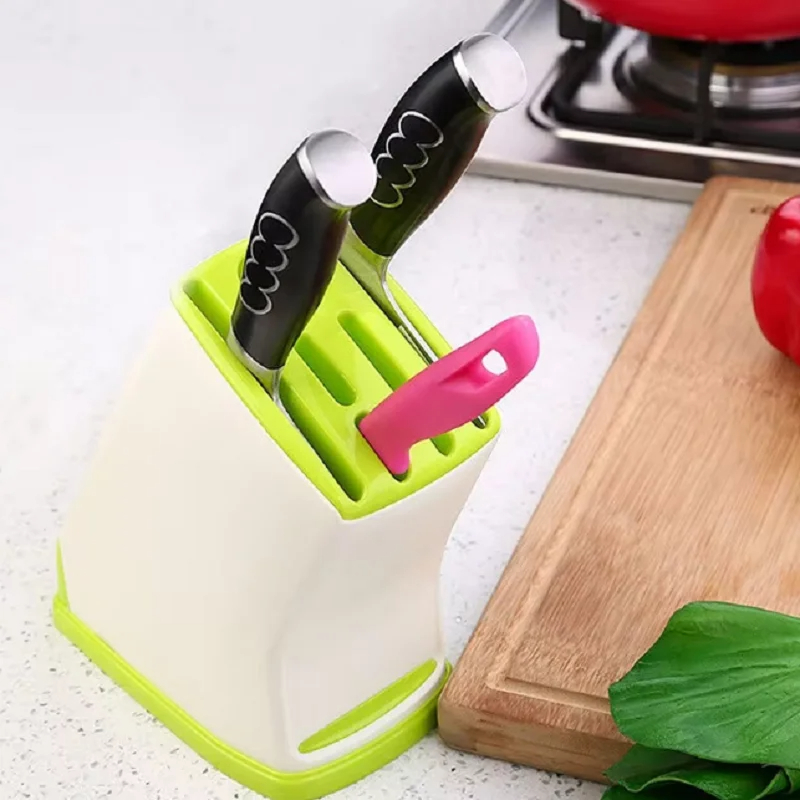
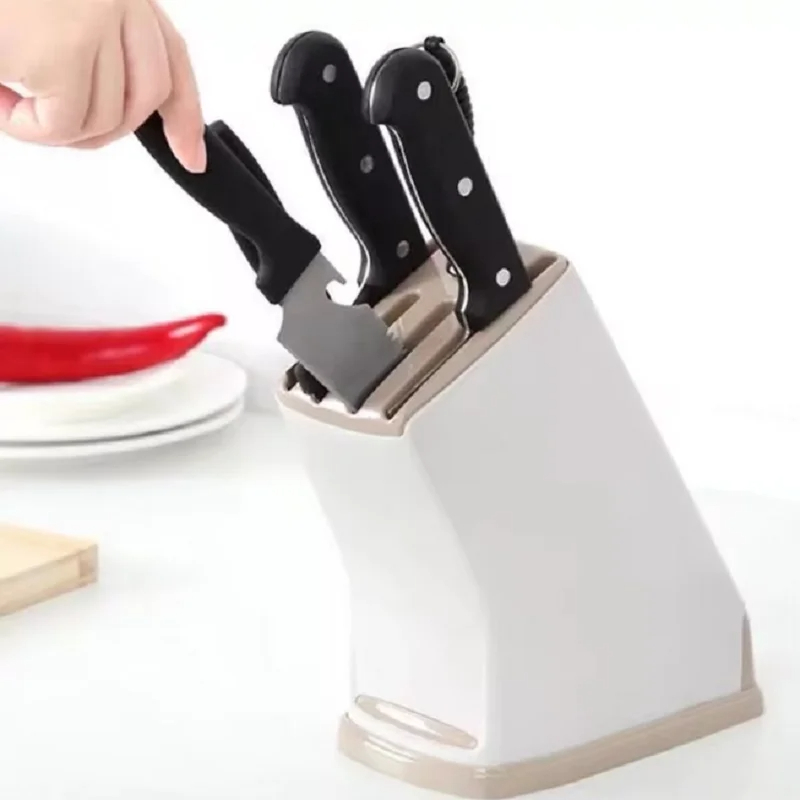
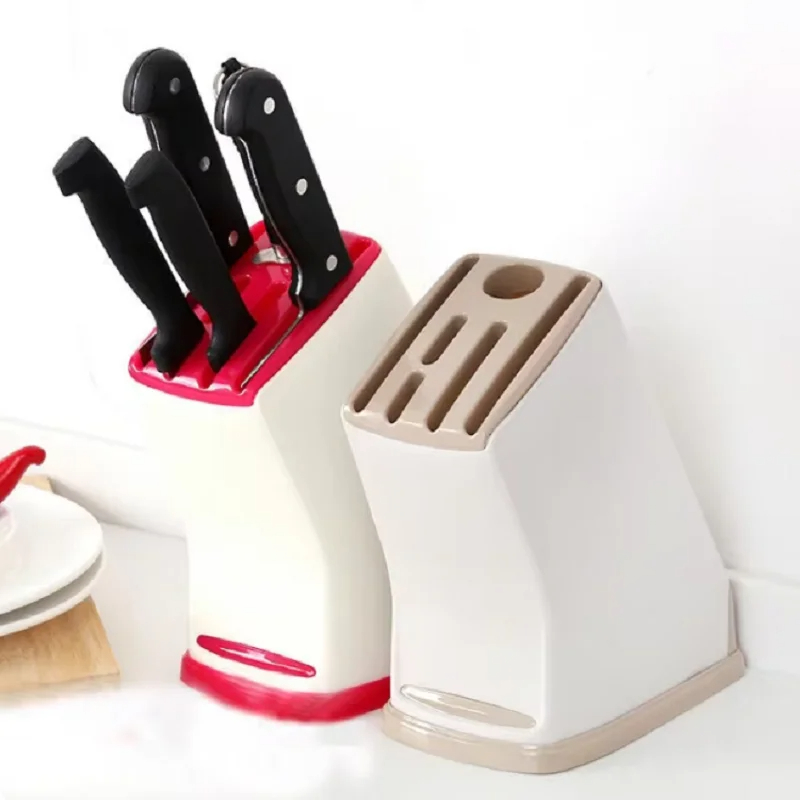
When it comes to selecting the material for your knife holder, options abound. Each material has its benefits and drawbacks. Common materials for knife holders include wood, plastic, metal, and bamboo. Each of these materials can give your knife holder a unique look.
Wood offers a warm and rustic feel. It’s also durable and can last for years if treated well. Popular types of wood for knife holders include oak, maple, and walnut. They give a classic and timeless look. However, wooden knife holders may require more care and maintenance to prevent warping and bacteria build-up.
Bamboo is a popular alternative to traditional wood. It is more eco-friendly since it grows quickly. It has a natural beauty and is inherently antibacterial. Bamboo holders can be lightweight and stylish, making them easy to fit into modern kitchens.
Plastic knife holders are often budget-friendly and easy to clean. They come in various colors and styles, making them suitable for a playful kitchen atmosphere. However, they may not have the same elegant feel as wood or bamboo.
Metal offers a contemporary look. It is often combined with wood or plastic materials for added functionality. Metal knife holders are generally easy to clean and maintain but can be heavier and more expensive.
Select a material that fits your kitchen style and meets your practical needs. Remember that the choice of material also determines the durability and longevity of your knife holder.
Preparing for Your DIY Project
Once you’ve chosen your materials, it’s time to prepare for the project. Gather all the necessary tools and materials. Common tools you will need include a saw, drill, measuring tape, screws, sandpaper, and wood glue if you’re working with wood. Make sure to have a clean workspace to avoid accidents and to keep your materials organized.
Before starting to cut or drill, take measurements carefully. Knowing how much space you have will inform the dimensions of your knife holder. Use a measuring tape to measure the area where you plan to place it. Consider how many knives you want to store, so you can design a holder that accommodates them comfortably.
It’s also wise to sketch out a design before starting. This plan doesn’t need to be overly complicated. It can be as simple as a sketch on a piece of paper. Visualizing the dimensions and layout can help prevent mistakes. Factor in height, width, and depth. Make sure to consider how the knives will fit. Will they be stored with the blades up or down? This will influence your final design as well.
Safety First
Safety is paramount during a DIY project. Always wear protective gear, such as safety glasses and gloves. Keep your workspace clear of clutter to avoid tripping or mishaps. Ensure that you use tools correctly. If you are unsure how to use a tool, consult a manual or watch a tutorial.
If you’re working with power tools, ensure that you understand their operation well. They can be dangerous if mishandled. Take your time, and don’t rush through any steps. It’s better to take extra time and ensure your safety.
Optional Customizations
Many individuals enjoy personalizing their projects. You may want to think about custom features for your knife holder. Some people add a separate compartment for kitchen scissors. Others may choose to carve their family name or an inspiring quote into the wood. If you prefer a more polished finish, consider adding an oil or sealing varnish. This will enhance the wood’s look and protect it from moisture.
Visualize how your knife holder will fit with the surrounding kitchen items. You may want to create matching holders for utensils or spices. This cohesion will help tie the room together beautifully.
Before finalizing your special features, think about your overall kitchen style. If your kitchen leans toward a traditional theme, rustic designs work well. If modern, opt for sleek and clean lines. Your choices reflect your personality and can provide inspiration as you create your knife holder.
Building the Knife Holder: Step-by-Step
Now that you have everything prepared, it’s time to start building. Follow these steps to construct a simple knife holder.
Step 1: Measure and Cut the Plans
Begin by measuring your pieces according to your design. You will typically need a base, sides, and spacers. Use a saw for clean cuts. Be mindful of your fingers and ensure the saw cuts straight.
Step 2: Assemble the Base and Sides
Once you have cut the pieces, it’s time to assemble them. Start with the base as it provides stability. Using wood glue and screws works best for wooden knife holders. Drill pilot holes for the screws to prevent the wood from splitting. Ensure everything lines up properly. Use clamps if necessary to hold it all in place.
Step 3: Add the Spacers
Cut several small pieces (spacers) that will help keep your knives separated. These spacers will hold the knives upright in the holder. They can be evenly spaced or arranged in a pattern. Use glue and screws to firmly attach them to the base and sides.
Step 4: Sand and Finish
Once the assembly is complete, take sandpaper and smooth out rough edges. This will make the knife holder feel more comfortable and polished. Apply a finishing oil or varnish if desired. This step not only enhances the wood’s appearance but also protects it from damage.
Step 5: Allow to Dry
Before putting your knives in, let the knife holder dry completely. This may take several hours or longer, depending on the glue and finish used.
Positioning Your Knife Holder
Once the knife holder is entirely dry, it’s time to find the perfect spot for it. Consider accessibility first. Place it within arm’s reach of your main prep area. You don’t want to strain yourself reaching for a knife while cooking.
Take a moment to evaluate the aesthetics. The holder should complement the overall look of your kitchen. Choose a spot that highlights its design and adds to the room’s atmosphere.
Avoid Damp Areas
Keep the knife holder away from sinks or damp areas. Wood and moisture don’t mix well; prolonged exposure can cause damage.
Caring for Your Knife Holder
Maintaining your DIY knife holder is crucial for its longevity. Depending on the material used, maintenance requirements may vary. Regular cleaning and occasional oiling can help keep it in good shape.
Regular Cleaning
Use a damp cloth to wipe the knife holder occasionally. Avoid soaking it in water as it can damage the wood or finish. If you’re ever unsure, consult care instructions specific to the material you’ve chosen.
Inspecting for Damage
Over time, check for any signs of wear or damage. Cracks can develop in the wood, or finishes might wear off. Addressing these issues promptly will help extend its lifespan. If your knives occasionally slip out, consider adding elastic bands or rods to keep them secure.
Consider refreshing the finish every few years, especially if the holder often gets wet or wiped down. This could involve applying a new coat of sealant or oil.
Creative Uses for Your Knife Holder
After you spend time crafting a knife holder, explore additional ways to utilize it. The holder can be more than just a storage space.
Consider using it to fit other kitchen tools, such as a spatula or ladle. Built-in compartments can make it multi-functional. You could even create a larger version for displaying herbs or cooking magazines.
Your knife holder can also inspire more DIY projects. Once you see how easily you can craft something useful, take it a step further. Why not build matching kitchen accessories or storage solutions?
Conclusion: Your Personalized Kitchen Solution
A DIY knife holder is not just a practical tool. It’s a chance to create something personalized and unique for your kitchen. Make use of the materials you love, and enjoy the process of crafting.
By investing your time and effort in building a knife holder, you’re also cultivating your skills. Celebrate your creativity each time you chop, dice, and slice in the kitchen. Remember, the tools we use should not only function well but also feel like an extension of who we are. Showcase your new holder, and take pride in your work! There’s nothing like a functional, handcrafted creation to brighten up your cooking space.