Easy Cabinet Makeover with Paint
How to update old kitchen cabinets without replacing them? A cabinet makeover with paint can transform your kitchen quickly and affordably. Start by selecting the best paint for your cabinets. A glossy finish repels fingerprints and is easy to wipe clean. For a more traditional look, choose a matte finish.
Choosing the Right Paint
Pick paint that suits your cabinet material. Latex paint is good for ease of use and cleanup. For durability, oil-based paints are better. Aim for colors that complement your kitchen’s décor and your personal style.
Applying a Fresh Coat
Before painting, clean and sand your cabinets for the paint to stick. Use even strokes to apply paint, and let it dry completely. Be patient between coats to achieve a smooth finish.
Finishing Touches with New Hardware
After the paint is dry, add new hardware. This adds a modern touch to your cabinets. Measure existing holes to choose the right size handles or knobs. This refresh is simple, yet effective for an updated look.
Distressing Techniques for a Custom Look
Paint isn’t the only way to revamp kitchen cabinets. Distressing can add character, giving them a lived-in, custom look that’s all your own. If you’re pondering how to update old kitchen cabinets without replacing them, distressing is a method worth considering.
Basics of Distressing Cabinets
To begin distressing cabinets, choose two paint colors that complement each other. Start with a lighter color as your base. Make sure it’s fully dry before adding the second, darker shade. Distressing works well on any cabinet surface, be it wood or laminate. Gather your materials: sandpaper, paintbrushes, and rags are usually all you need.
Achieving the Perfect Distressed Finish
After your base paint has dried, apply the darker top coat. Once that layer is dry, it’s time for the creative part. Use sandpaper to gently rub edges and raised surfaces where natural wear would occur. Be bold but don’t overdo it – remember, less is more. Wipe away dust with a rag as you go. When satisfied, seal your cabinets with a clear topcoat. This protects your work and brings out the depth of your new custom look. Your distressed cabinets should now offer a balance between old-world charm and modern freshness.
The Simplicity of Whitewashing Cabinets
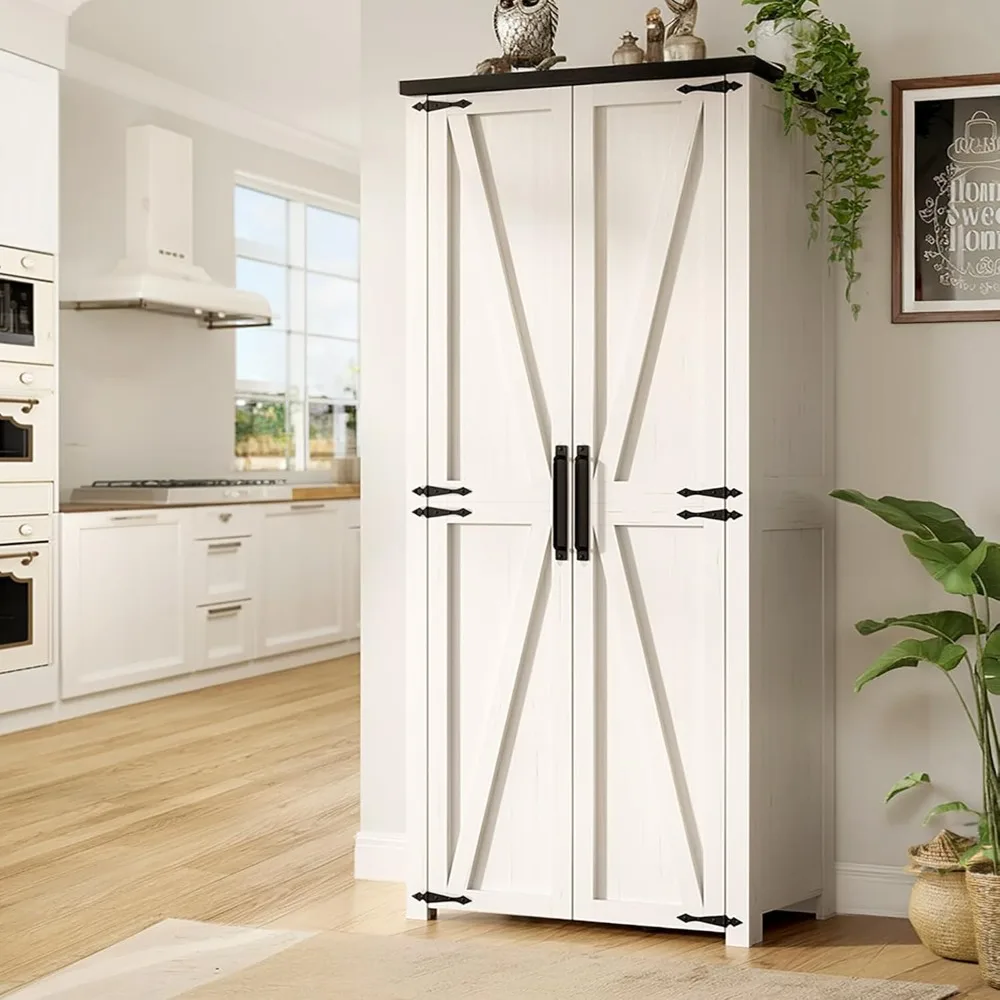
Whitewashing your cabinets is a simple and cost-effective way to refresh your kitchen’s appearance. It can brighten up the space and give your cabinets a charming, textured look without the hassle of a full replacement.
Preparing Your Cabinets for Whitewashing
Preparation is key to achieving a great whitewash effect. Start by cleaning your cabinets thoroughly to remove any grease or dirt. A gentle scrub with soapy water should do the trick. Next, lightly sand the surfaces to help the paint adhere better. Wipe away any dust with a clean cloth, and you’re ready to begin whitewashing.
Step-by-Step Whitewashing Process
To whitewash your cabinets, follow these simple steps:
- Mix latex paint with water in a three-to-one ratio. Use a white basecoat for a traditional whitewash look.
- Apply the mixture evenly with a paintbrush, covering all areas you wish to whitewash.
- Allow the paint to sit for about 15 minutes, then wipe away the excess with a rag, working in the direction of the wood grain.
- Let it dry and then seal your cabinets with a clear topcoat to protect the finish.
This process will leave you with cabinets that have a graceful, lived-in feel, perfectly blending old-world charm with modern functionality.
Creating a Two-Tone Effect on Cabinets
Bring your kitchen to life with a two-tone cabinet makeover. This easy project can inject personality and style into your space. A dual color scheme offers a modern twist and can highlight key areas of your kitchen.
Planning Your Two-Tone Design
When planning your two-tone cabinets, choose colors that work well together and complement your kitchen’s decor. Think about whether you want a stark contrast or a subtle transition. Decide which cabinets will be light and which will be dark. Upper cabinets in a lighter shade can make your kitchen feel larger, while darker lower cabinets can ground the space.
Tips for Painting Upper and Lower Cabinets
Start with a clean surface by wiping cabinets with a degreaser. For a sharp look, use painter’s tape to separate upper and lower cabinets. Paint the lightest color first, usually on the upper cabinets. Allow them to dry completely. Then, move on to the lower cabinets with the darker shade. Use a small brush to touch up any mistakes. Add a protective topcoat to both upper and lower cabinets for durability. Once dry, enjoy your stylish, updated kitchen cabinets.
Transformative Power of New Cabinet Handles
Refreshing your kitchen cabinets can be as simple as replacing the handles. New hardware can make a significant impact, instantly modernizing your kitchen aesthetics and adding a fresh feel to the space. Here’s how to choose and install new cabinet handles with minimal effort and maximum style impact.

Selecting Stylish Handles
When choosing new handles:
- Consider your kitchen’s overall design.
- Pick handles that match or complement your faucet and appliances.
- Aim for durability and quality to ensure they last.
- Think about the handle shape and how it fits your hand.
- Select a finish that enhances your cabinet’s color and texture.
Choosing the right handles can pull together your kitchen’s look.
Installing Your New Hardware
For installation:
- Gather a screwdriver, measuring tape, and new handles.
- Remove old handles with the screwdriver.
- Measure the distance between holes to ensure a proper fit.
- Place the new handle in position and screw it in place.
- Double-check for alignment and tighten the screws.
By following these steps, you’ll give your cabinets a quick and stylish update. Remember to keep the number of holes the same when selecting new handles unless you’re prepared to fill and paint over old ones.
Adding Elegance with Molding
Adding molding to your cabinets can enhance their appearance dramatically. It’s a simple way to add a touch of elegance without a complete overhaul.
Types of Molding to Use
When selecting molding for your kitchen cabinets, consider the following types:
- Crown Molding: Adds a graceful line at the top of your cabinets.
- Base Molding: Runs along the bottom of your cabinets for a polished look.
- Light Rail Molding: Conceals under-cabinet lighting and adds a decorative touch.
- Dental Molding: Offers a classic, intricate look that’s perfect for traditional kitchens.
Choose a style that complements your kitchen’s design and enhances the overall feel.
Installation Techniques for Molding
Installing molding on cabinets can be straightforward. Follow these steps for a successful project:
- Measure the perimeter of your cabinets to determine how much molding you’ll need.
- Cut molding pieces to size with a saw, ensuring tight, precise angles.
- Use wood glue or caulk to attach molding to the cabinet edges.
- Secure the molding with finishing nails for extra hold.
- Fill nail holes with wood filler and sand for a smooth finish.
- Apply paint or stain to match your cabinets and let it dry thoroughly.
With the right tools and a steady hand, you can complete this task and transform your kitchen cabinets. This addition can elevate the look of your cabinets with a refined, custom-built feel.
Changing Kitchen Door Fronts
Transform your kitchen’s look by changing the door fronts on your cabinets. This is a more involved task but doable as a DIY project.
Measuring for New Cabinet Doors
Before buying new doors, accurately measure your existing ones. Note down the height, width, and hinge placement. Take these measurements with you when shopping for replacements.
Installing New Door Fronts
Once you have your new doors:
- Remove old doors using a screwdriver.
- Align new doors to ensure they fit.
- Screw the hinges onto the new doors.
- Attach doors to the cabinet frames.
- Adjust hinges for proper door alignment.
This update can give your kitchen a major facelift without the expense of a full remodel.
Enhancing Ambiance with Under-Cabinet Lighting
Adding under-cabinet lighting is a brilliant way to enhance your kitchen’s function and style. This simple update can create both task lighting for food prep areas and a warm ambiance for your kitchen.
Choosing the Right Lighting
Select lights that match your kitchen’s needs. Consider LED options for energy efficiency and long life. Choose from puck lights for focused areas or strip lights for even, linear coverage. Ensure the color temperature fits your kitchen’s style—cool whites for a modern look, or warm whites for coziness.
Installation Guide for Under-Cabinet Lights
To install under-cabinet lighting:
- Plan where each light will go. 2. Check if you need a drill or adhesive for mounting. 3. Follow product instructions for wiring. 4. If battery operated, simply place and turn on. 5. For plug-in lights, route cords neatly to outlets. 6. Enjoy your well-lit counters and improved kitchen aesthetics.
These changes are not just about looks. Good lighting can reduce eye strain and make your workspace safer and more enjoyable.
