Paint Your Kitchen Cabinets for a Refreshing Update
One of the most cost-effective ways to revitalize your kitchen is by painting your cabinets. How to redo kitchen cabinets? This simple update can significantly brighten your space and give it a new lease on life. It’s an achievable weekend project that can transform your kitchen’s ambiance with just a few coats of paint.

Different Techniques for a Personalized Touch
When you decide to paint your kitchen cabinets, consider the different techniques available to add a unique flair:
- Crackle Effect: Achieve a weathered look with crackling glaze. Apply it over a dry base coat and watch the magic happen as it dries, resulting in a character-filled finish.
- Distressed Style: For a rustic feel, layer colors and use sandpaper to gently wear down the paint on areas of high use. A touch of dark spatter paint can add to the effect.
- Antiqued Look: Create the impression of age with a lighter color brush-dabbed onto corners and trim for a time-worn appearance.
- High Gloss: Opt for a high-gloss finish to make cleaning easier and give a sleek, reflective quality to your cabinets.
These personalized touches not only enhance the look of your kitchen but also allow your style to shine through. Whether you’re aiming for shabby chic, rustic, or modern, there’s a painting technique to match your vision.
Reface Your Cabinets for a New Look
Refacing kitchen cabinets can provide a major uplift to your kitchen’s aesthetics. By applying new veneer and replacing old doors, your cabinetry can look brand new without the hefty cost of a complete cabinet overhaul. Even if you’re not a professional carpenter, many manufacturers offer user-friendly products that simplify this process.
Veneer and New Doors Can Transform Your Cabinets
Modern veneers come in various styles, making it easy to match your home’s decor. With careful measurement and cutting, you can tailor the veneer to your cabinet’s dimensions. Choosing new doors can further alter the appearance of your cabinets, from classic designs to more contemporary options. With the right tools and a little time, you can create a fresh new look for your kitchen. Pair this effort with updated hardware, and the transformation is complete, often for less than a thousand dollars.
Install a Pull-Out Cabinet Shelf to Maximize Storage
When looking at how to redo kitchen cabinets, the concept of maximizing storage often comes to mind. Installing pull-out cabinet shelves can significantly improve the convenience and functionality.
Simplifying Access to Your Kitchen Essentials
A pull-out cabinet shelf simplifies the way you access your pots, pans, and other essentials. No more rummaging through cabinets to find what you need. This shelf pulls out smoothly, so everything comes to you. Installing these shelves is an easy DIY project. You’ll need a few tools and a bit of patience, but the reward is high. Convenience will be at your fingertips, with all items in your cabinets easily visible and reachable. Not to mention, it’s an excellent use of space, especially in deep cabinets where items tend to hide in the back. Consider adding pull-out shelves to both upper and lower cabinets for a complete kitchen upgrade. By taking careful measurements and purchasing the right size shelves for your cabinets, this addition can be a weekend project that brings lasting benefits to your kitchen’s organization and style.
Brighten Your Space with Undercabinet Lighting
Adding undercabinet lighting is like giving your kitchen a mini-makeover. It doesn’t just illuminate your countertop; it creates warmth and functionality, making your kitchen a welcoming space for cooking and socializing.

Create a Functional and Welcoming Atmosphere
Undercabinet lighting can transform a dimly-lit work area into a bright and efficient space. Here’s how to create a more inviting kitchen atmosphere with lighting:
- Easy to Install: You can often install undercabinet lighting yourself. Most options require minimal tools and come with step-by-step guides.
- Enhanced Visibility: Improve safety and make food prep easier. Bright lights allow you to see better, reducing the risk of accidents.
- Versatile Styles: Choose from LED strips, pucks, or linear lights. Each style offers a unique aesthetic and level of brightness.
- Energy Efficiency: LED options are energy-efficient and have a longer lifespan, saving on electricity bills.
- Adjustable Settings: Many models come with dimmers, allowing you to set the mood or conserve energy as needed.
Incorporating undercabinet lights isn’t just practical; it’s a stylish upgrade. With the proper installation, you’ll wonder how you ever managed without this kitchen enhancement. Not only does it make your tasks easier, but it also provides an immediate, high-impact lift to the ambiance of your kitchen.
Add a Butcher Block Island for Style and Function
A butcher block island not only adds a focal point to your kitchen but also provides extra workspace and storage. It’s an excellent addition for individuals who enjoy cooking and need more surface area for food preparation. Moreover, the natural wood brings warmth and a touch of rustic charm to your kitchen, balancing out the modern look of appliances and stone countertops.
Building a Centerpiece with a Classic Aesthetic
To achieve this classic look in your kitchen:
- Select the Wood: Choose a thick, durable hardwood like maple or oak for the butcher block top.
- Determine the Size: Measure the available space in your kitchen to ensure the island fits comfortably.
- Consider Mobility: Add locking wheels if you wish to move the island around.
- Add Shelving: Include shelves or cabinets underneath for extra storage.
- Finish with Care: Treat the wood with mineral oil or a butcher block conditioner to extend its life and maintain its beauty.
By following these steps, you can create a butcher block island that not only looks great but also enhances the functionality of your kitchen. It can serve as an additional dining area, a spot for meal prep, or simply a place to gather with family and friends while cooking. With a butcher block island, you bring both style and function to the heart of your home.
Build a Sideboard for Additional Storage
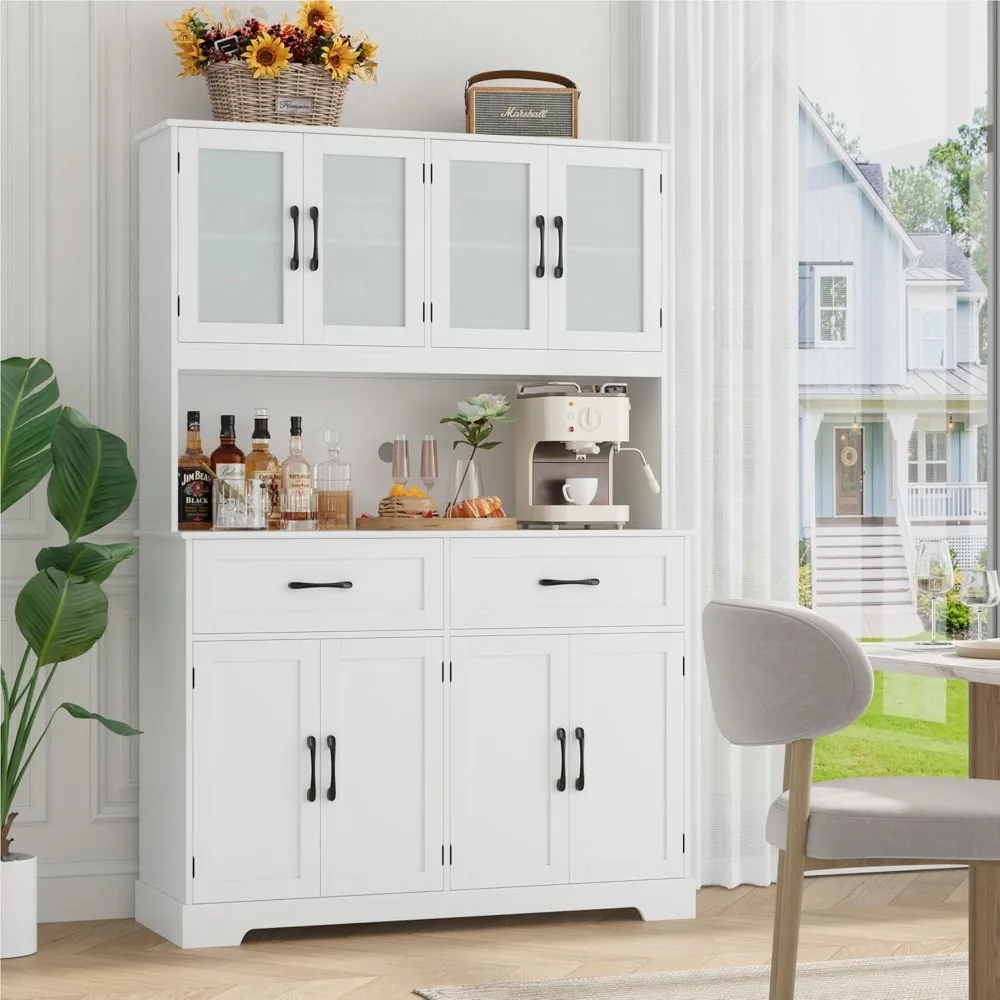
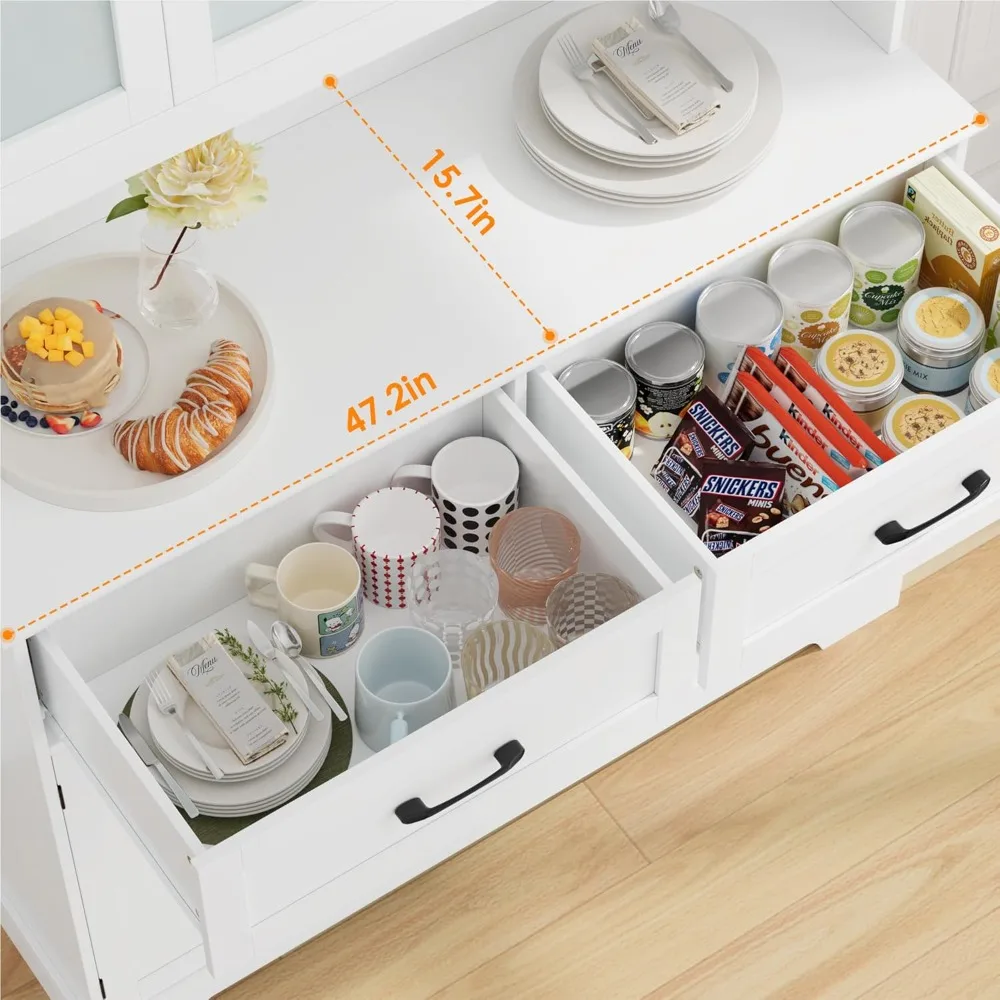
A sideboard can add much-needed storage to your kitchen. It’s a spot for dishware, serving items, and linens. You don’t have to spend a lot to get a high-quality one. With basic kitchen cabinets and some DIY skills, you can make one yourself.
Customize a Sideboard from Stock Cabinets
To create a DIY sideboard, select unfinished base cabinets with doors and drawers. Add molding, furniture feet, and new knobs to give it a custom look. Paint or stain your sideboard to match your kitchen decor. This project can be done in a day and will serve you for years.

Construct a Window Seat with Storage
Adding a window seat with storage to your kitchen is a brilliant move. It offers a cozy spot for relaxation while providing an extra place to stash kitchen items. This kind of project, surprisingly doable over a weekend, brings both charm and efficiency.
Creating a Cozy Nook in Your Kitchen
Building a window seat can transform an underutilized area of your kitchen into a cozy nook. It’s perfect for enjoying a cup of coffee or reading a book. To craft your nook:
- Choose the Right Spot: Ideally, under a kitchen window with a pleasant view.
- Design for Comfort and Storage: Make sure the seat is deep enough to sit comfortably. Include drawers or a lift-up bench top for hidden storage.
- Select Materials: Use sturdy woods like pine for the frame and birch plywood for the seat.
- Customize to Match: Paint or stain the wood to compliment your kitchen cabinets.
- Add Cushions: Place comfortable cushions and throw pillows for added comfort and style.
With some basic carpentry skills and creativity, you can create a practical, built-in feature for your kitchen that enhances the space and your home’s value.
Incorporate a Plate Rack to Display Your Dishes
A plate rack is a stylish way to showcase your colorful dishes while freeing up cabinet space. It adds a personal touch to your kitchen and can be a focal point of design.
Adding Color and Freeing Storage Space
Installing a plate rack in your kitchen serves double duty. It displays your beautiful dishes and frees up storage. Here’s how:
- Choose a Rack Style: Pick a rack that complements your kitchen’s vibe.
- Pick the Perfect Spot: Install it near the dishwasher for easy unloading or in a dining zone.
- Show off Your Favorites: Arrange your most colorful or unique dishes on the rack.
- Declutter Cabinets: Move items to the rack to declutter your cabinets.
- Mix Function and Decor: Use the rack for everyday items or for special pieces only.
By adding a plate rack, you’ll inject vibrancy into your space and make practical use of open walls.
Enhance Cabinets with Crown Molding
Crown molding adds a touch of elegance to your kitchen cabinets. This decorative trim creates a polished look, making your cabinets appear more luxurious. It’s a relatively simple upgrade that makes a significant visual impact.
Adding Elegance to Your Kitchen Cabinets
To install crown molding, you’ll need some basic tools and a bit of patience. Here are the steps to elevate your cabinets:
- Measure Precisely: Accurate measurements are crucial for a seamless fit.
- Choose Your Style: Select molding that fits your kitchen’s decor.
- Cut with Care: Use a miter saw for angled cuts at corners.
- Install Carefully: Attach the molding to the cabinet top or a frame above.
- Finish with Paint or Stain: Match your cabinets or add a contrasting color.
Crown molding is an excellent way to bring sophistication to your space. With a weekend’s work, you can enjoy a kitchen that feels custom-made and refined.
Expand Storage with Additional Kitchen Cabinets
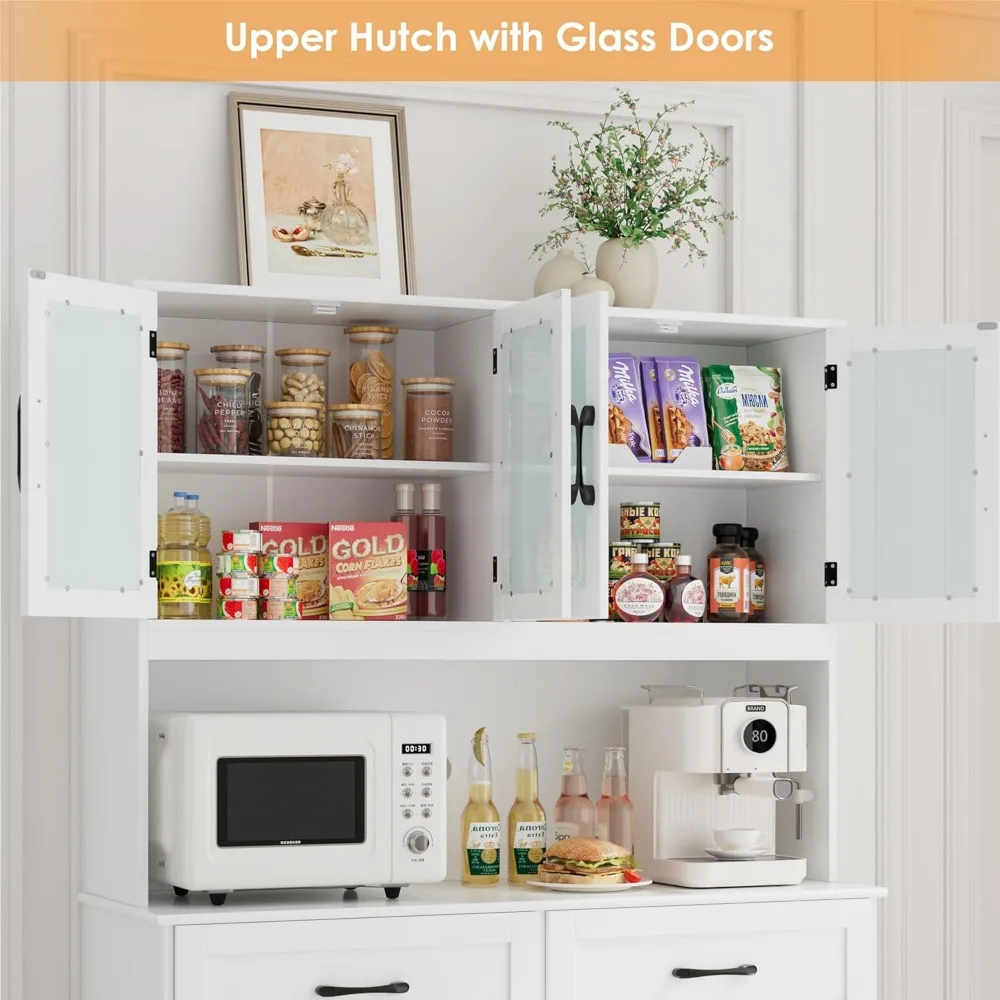
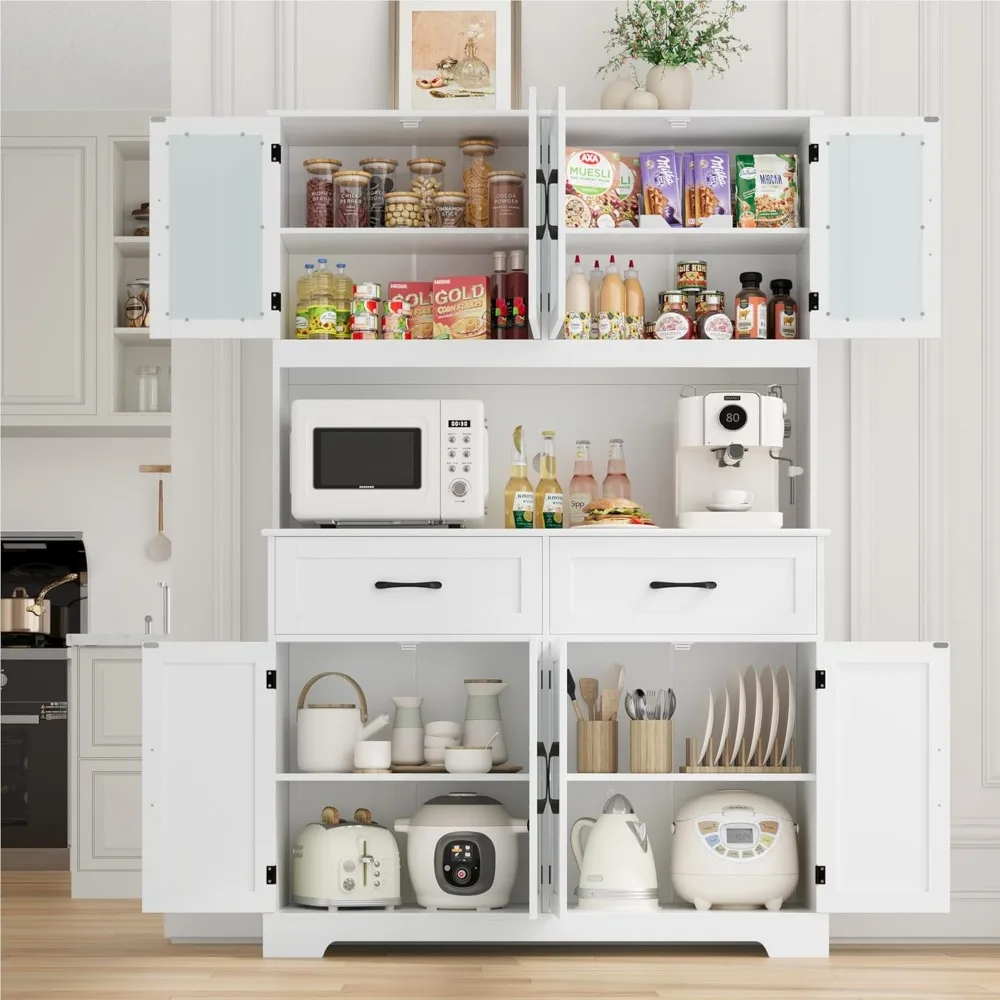
Adding more kitchen cabinets is an excellent way to increase storage space. This upgrade can help you stay organized and make your kitchen more functional.
Tactics for a Well-Planned Installation
Here are some key steps to ensure a smooth cabinet installation:
- Measure your space: Accurate measurements are essential for a good fit.
- Select the style: Choose cabinets that match your kitchen decor.
- Prepare the area: Clear the space and make sure the walls are level.
- Install the base cabinets first: This sets the foundation for upper cabinets.
- Secure cabinets properly: Use screws and anchors suited for your walls.
- Align the doors and drawers: Make sure they are even and operate smoothly.
- Add finishing touches: Consider moldings or trims for a polished appearance.
By carefully planning and executing these tactics, you can expand your kitchen storage with new cabinets that look as though they were always part of your home. Each step taken with care contributes to a well-organized and stylish kitchen that you’ll enjoy for many years.


