 Introduction:
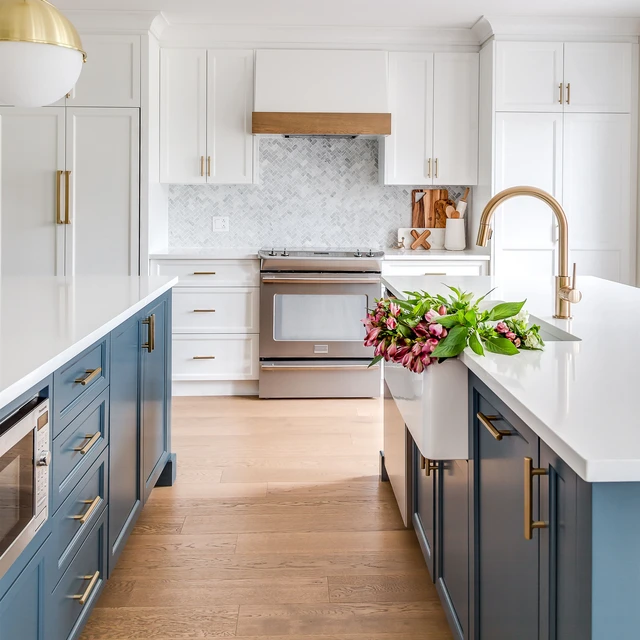
Painting kitchen cabinets is an effective way to give your kitchen a fresh, updated look. While traditional methods often involve sanding the cabinets before painting, there are alternative techniques that allow you to paint your cabinets without sanding. In this article, we will provide a step-by-step guide on how to successfully paint your kitchen cabinets without sanding, saving time and effort while achieving beautiful results.
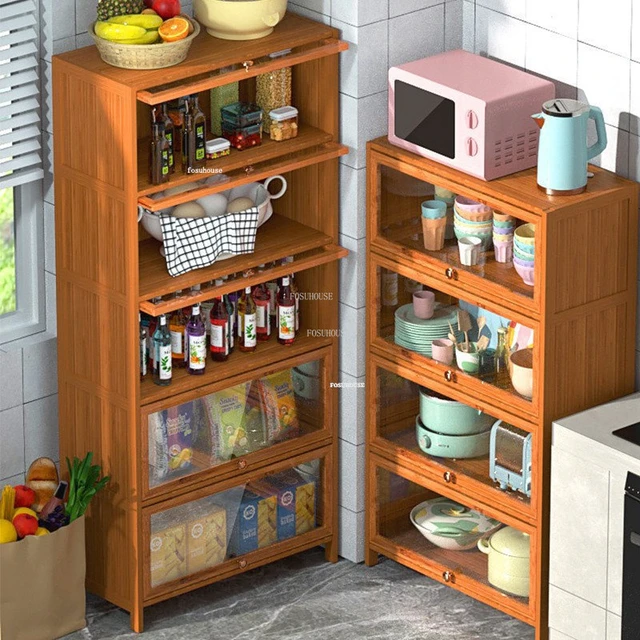
 Several types of kitchen cabinets available:
There are several types of kitchen cabinets available:
Base cabinets:
These are the standard cabinets that rest on the floor and provide storage space for larger items, such as pots, pans, and kitchen appliances.
Wall cabinets:
These cabinets are installed on the wall above the countertops and provide additional storage for smaller items, dishes, and glassware.
Tall cabinets:
Also known as pantry cabinets, these are tall, freestanding cabinets that provide storage for food items, cleaning supplies, and other household essentials.
Corner cabinets:
These cabinets are designed to make use of corner spaces in the kitchen. They usually have a rotating shelf mechanism or pull-out drawers to maximize storage space.
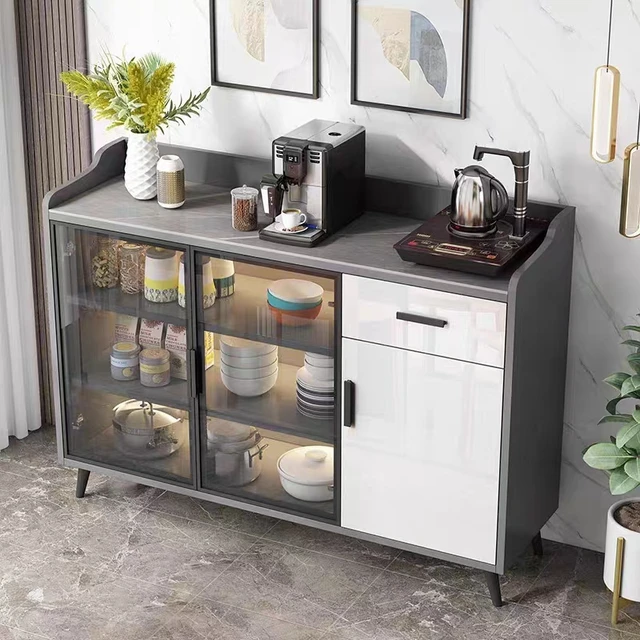
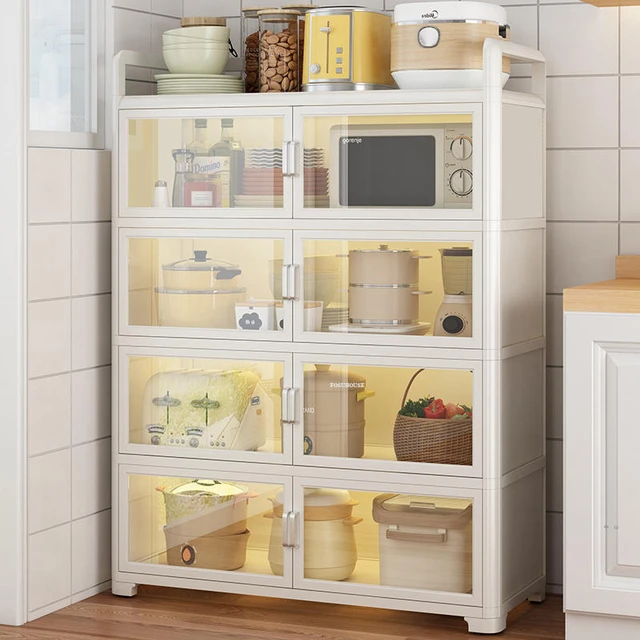
Glass-front cabinets:
These cabinets have glass doors or panels, allowing you to display items such as glassware, dishes, or decorative pieces.
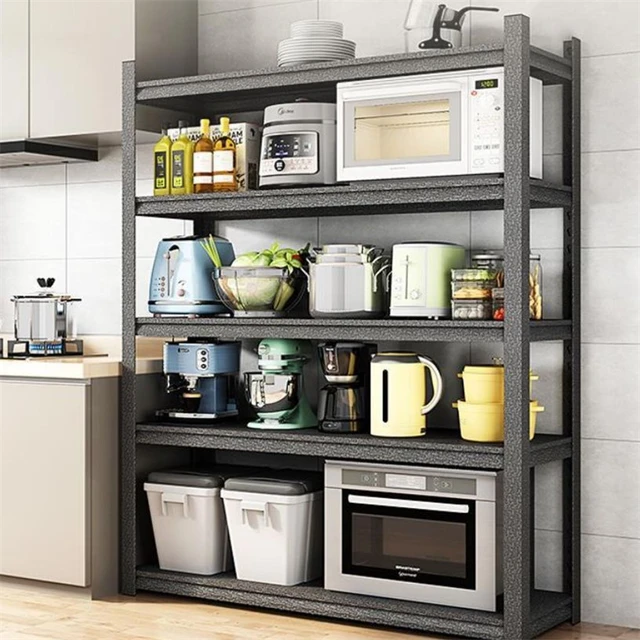
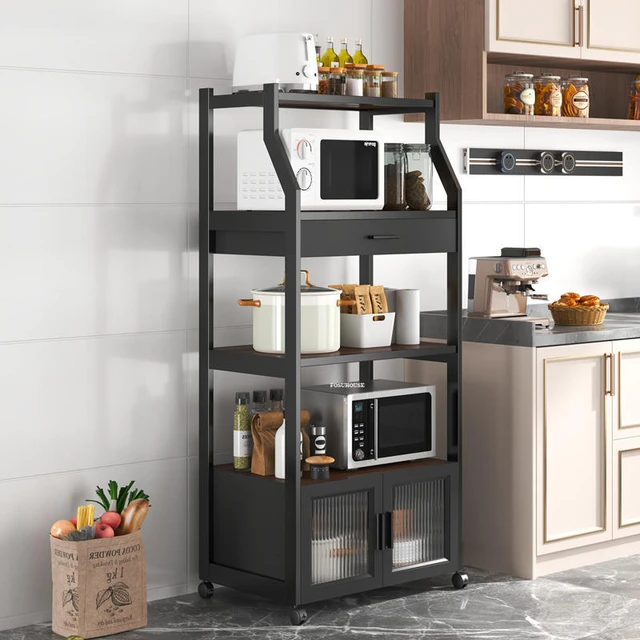
Open shelving:
Instead of traditional cabinets, some kitchens opt for open shelving, where shelves are installed on the walls to display or store items. This can create a more open and airy look.
Shaker cabinets:
Shaker-style cabinets are characterized by their simple and clean design, featuring flat panel doors with inset or recessed paneling.
Flat-panel cabinets:
These cabinets have flat, smooth doors without any raised or recessed panels, creating a minimalist and modern look.
Raised panel cabinets:
These cabinets have a raised panel in the center of the door, adding dimension and a more traditional or classic style.
Slab cabinets:
Slab-style cabinets have a flat, single-piece door without any raised or recessed panels. They offer a sleek and contemporary look.
These are just a few examples of the different types of kitchen cabinets available. The choice of cabinets will depend on factors such as style preferences, storage needs, and budget considerations.
Preparing Your Kitchen Cabinets
Before starting the painting process, proper preparation of your kitchen cabinets is necessary to ensure a smooth and long-lasting finish.
Clear the Cabinets: Remove all items from the cabinets and thoroughly clean the surfaces with a mild cleaner to remove any grease, grime, or residue.
Remove Hardware: Take off all cabinet hardware, including handles, knobs, and hinges. This will make the painting process easier and ensure a more consistent finish.
Repair Any Damage: Inspect the cabinets for any dents, scratches, or holes. Use wood filler or putty to repair these imperfections, and sand them smooth if necessary.
 Choosing the Right Paint
Selecting the appropriate paint is critical for achieving a professional and durable finish on your kitchen cabinets.
Choose a High-Quality Cabinet Paint: Look for a paint specifically designed for cabinets, as these tend to be more durable and offer better adhesion. Consider using water-based or latex paint for easier cleanup.
Select the Desired Color: Choose a color that fits your kitchen’s aesthetic and complements the overall design. Consider testing a small area or using paint samples to ensure you are happy with the color choice.
Priming the Cabinets
Applying a primer before painting is essential to ensure proper adhesion and achieve a smooth, even finish.
Use a Bonding Primer: Select a high-quality bonding primer that is suitable for the material of your cabinets. These primers are designed to adhere well to surfaces without the need for sanding.
Apply the Primer: Use a brush or a roller to apply the primer to the cabinet surfaces, working in even strokes and following the grain of the wood. Make sure to cover all areas, including the edges and corners. Allow the primer to dry completely according to the manufacturer’s instructions.
 Painting the Cabinets
With the cabinets properly primed, it is time to apply the paint and transform the look of your kitchen.
Start with the Cabinet Frames: Begin by painting the cabinet frames using a brush or a small roller. Work in smooth, even strokes, covering the surfaces thoroughly. Take care to avoid drips or pooling of paint.
Paint the Cabinet Doors: Next, paint the cabinet doors and drawer fronts. If possible, remove them from the cabinets and place them on a flat surface. Use the same technique of smooth, even strokes with a brush or roller. Allow the paint to dry completely between coats, and apply additional coats as needed for full coverage.
Apply a Top Coat: To ensure durability and a polished finish, consider applying a clear top coat. This protective layer can help prevent damage from moisture, scratches, and daily use. Follow the manufacturer’s instructions for applying and drying times.
Reassembling and Finishing Touches
Once the paint has dried completely, it is time to reassemble your cabinets and add the finishing touches.
Reattach Hardware: Once the paint is fully cured, reinstall the cabinet hardware, including handles, knobs, and hinges. Make sure they are tightened securely.
Clean and Maintain: Regularly clean the painted cabinets using a mild cleaner and a soft cloth. Avoid using abrasive or harsh cleaning agents that may damage or scratch the paint.
Some tips for the daily maintenance of kitchen cabinets:
Here are some tips for the daily maintenance of kitchen cabinets:
Regular cleaning: Wipe down the exterior of the cabinets regularly with a soft cloth or sponge and a mild detergent or cleaner. Avoid using abrasive cleaners or scrub brushes that can damage the finish.
Avoid excessive moisture: Wipe up any spills or splatters immediately to prevent moisture from seeping into the cabinet surfaces and causing damage. Be especially careful around sinks, dishwashers, and other areas prone to water exposure.
Use cabinet liners: Consider using cabinet liners or mats to protect the shelves and drawers from scratches, stains, and moisture. These liners can easily be cleaned or replaced as needed.
Handle with care: Avoid slamming cabinet doors or drawers, as this can loosen hinges or damage the wood or finish. Use the handles or knobs to open and close doors and drawers gently.
Avoid direct heat and sunlight: Excessive heat or sunlight can damage the cabinet finish. Keep cabinets away from heat sources such as stovetops or ovens and use window treatments or blinds to minimize exposure to direct sunlight.
Regularly check and adjust hardware: Periodically inspect the cabinet hardware, such as hinges, handles, and drawer slides. Tighten loose screws and adjust hinges or slides to ensure smooth operation.
Avoid using harsh chemicals: Avoid using harsh or abrasive cleaning products that can damage the cabinet finish or strip away the protective coating. Stick to mild cleaners or natural alternatives.
Dust regularly: Dust the cabinet surfaces, including the top and sides, with a soft cloth or duster to prevent the buildup of dust and dirt.
Remember, proper maintenance and care can help prolong the life and appearance of your kitchen cabinets. Regular cleaning, avoiding excessive moisture and heat, and handling with care are key to keeping them in good condition.
 Conclusion:
Painting kitchen cabinets without sanding can be a convenient and effective way to update the look of your kitchen. By following these simple steps and using the right materials, you can achieve a professional finish without the need for extensive preparation. Transform your kitchen, give it a fresh new look, and enjoy the satisfaction of your DIY project. Remember to take your time, follow the instructions carefully, and be patient throughout the process for the best results.