Before & After: The Transformation of a 70s Kitchen
Transforming a 70’s old kitchen cabinets makeover into a modern, functional space can be rewarding. This comparison will take you through the journey from the original, outdated design to the stylish, contemporary result.
The Initial State: Vintage Charm Meets Outdated Functionality
The journey began with a 70s kitchen that had its original charm but lacked modern functionality. The vintage cabinets, while quaint, offered limited storage and an impractical layout. Dark woods and dim lighting contributed to a closed-off feel, with the old appliances and worn countertops screaming for an update.
The Stunning Reveal: A Modern Twist on Retro Vibes
The final reveal showcases a spectacular transformation that blends modern design with nods to the past. The new kitchen boasts increased storage space, brighter lighting, and a more open, inviting layout. New cabinets, freshly painted walls, and durable yet beautiful countertops bring this old kitchen into the modern era. A new island serves as the focal point, offering both extra counter space and a spot for family and friends to gather.
Planning the Makeover: A Functional and Stylish Approach
A thoughtful plan sets the foundation for a successful kitchen renovation. The planning phase is crucial for transforming a 70s kitchen with style and function in mind.
Assessing the Original Layout for Improvements
Examining the old layout revealed the need for better flow and storage. We looked beyond the charm to spot areas that didn’t meet modern use. The plan involved strategic changes to enhance functionality without losing the kitchen’s original soul.
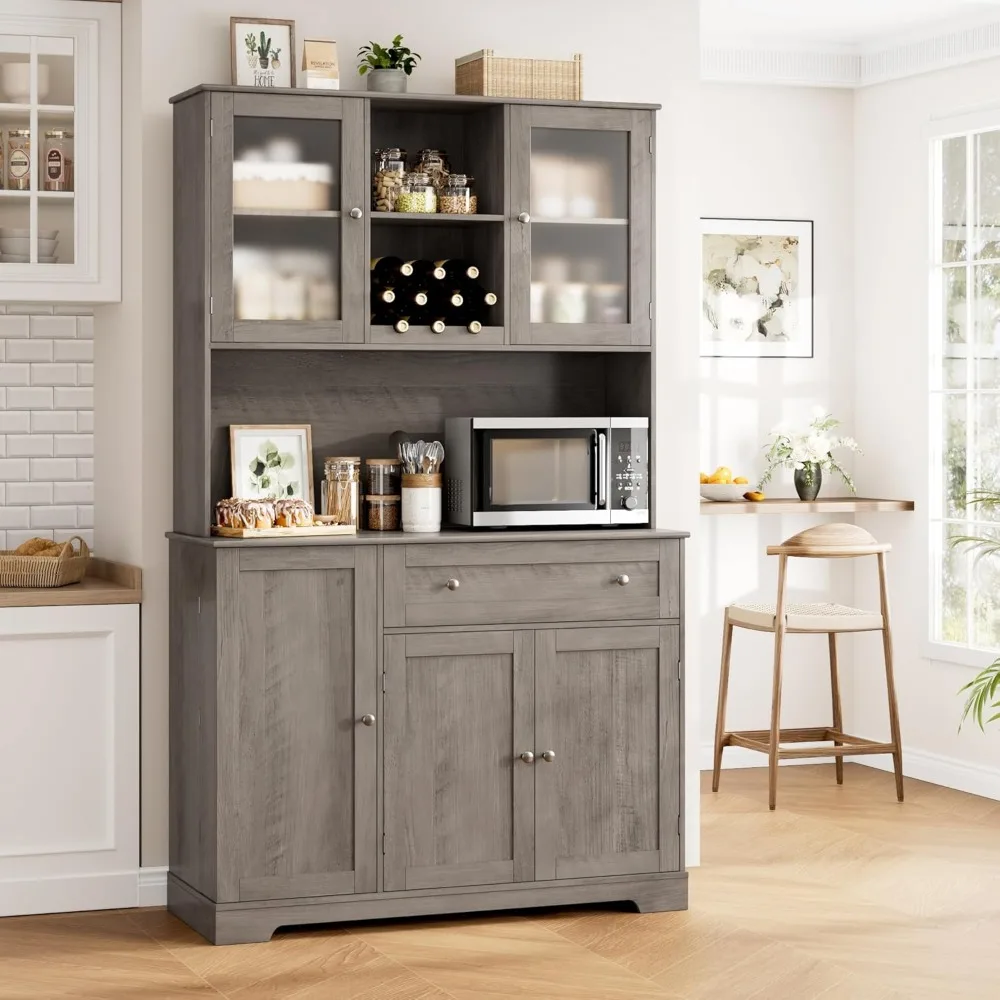
Selecting a Two-Tone Cabinet Scheme and Modern Fixtures
We chose a two-tone cabinet color palette for visual interest and practicality. Darker lower cabinets hide wear while lighter uppers brighten the space. Sleek, modern fixtures replaced outdated ones, aligning with the new, stylish ambiance we aimed to achieve.
Floor Plan Reconfiguration for a Spacious Feel
A key goal was to create an open, airy feel. We decided to remove barriers that cramped the kitchen. The result was a floor plan that encourages social interaction and creates a seamless transition from kitchen to dining area, ideal for modern living.
The Demolition Process: Out With the Old
A well-planned demolition sets the stage for an incredible transformation. Let’s explore the steps my team took to strip away the outdated elements and prepare for the 70’s old kitchen cabinets makeover.
Removing Obsolete Features and Opening Up Space
We started by removing the old cabinets and fixtures, keen to create a blank canvas. We focused on outdated features that hindered functionality. The old flooring went next, making room for a design that suits modern tastes and needs. Knocking down walls, we aimed to achieve an open-plan layout, crucial for a spacious feel.
Rerouting Electrical and Plumbing Necessities
After clearing space, we rerouted the kitchen’s wiring and plumbing. It was important to ensure they aligned with the new design and complied with the current safety standards. This step, though hidden from sight, is foundational for a kitchen’s long-term functionality. With wires and pipes set, we prepared to introduce sleek, modern cabinets and appliances to the heart of the home.
Installing the New Cabinets: Balancing Budget and Style
When undertaking a 70’s old kitchen cabinets makeover, finding the sweet spot between affordability and aesthetic appeal is key. Our approach aimed to deliver on both fronts.
Choosing Pre-Assembled, Affordable Options
The selection of pre-assembled cabinets played a crucial role in staying within budget. We went for a reputable brand known for durability without compromising on style. With pre-assembled options, installation is straightforward, reducing labor costs and time.
We opted for shaker-style cabinetry. Its clean lines and classic look ensured the kitchen would remain timeless. Two-tone colors were selected—dark bases for practicality and lighter uppers to enhance the kitchen’s openness.
Creating a Custom Kitchen Island for Added Function
The kitchen island is often the heart of any modern kitchen. For this 70’s kitchen, a custom island provided much-needed counter space and storage. Using a combination of base cabinets, we constructed an island that fits perfectly within the new open floor plan.
The island was topped with a warm butcher block countertop, contrasting with the laminate used elsewhere. This choice added a touch of rustic charm and practicality to the makeover. With the added function of the island, we ensured the kitchen wasn’t just stylish but also better suited for the family’s needs.
Countertops and Backsplash: Selecting Durable and Timeless Materials
Choosing the right materials for countertops and backsplash can define a kitchen’s style and functionality. We picked options that are both long-lasting and fitting to the kitchen’s new aesthetic.
Opting for Laminate and Butcher Block Countertops
For the perimeter counters, a light-colored laminate was the choice. It is durable, affordable, and easy to maintain. On the island, a butcher block top adds warmth and a touch of rustic charm. It’s perfect for meal prep and brings an inviting texture.
Classic Subway Tile Choice with a Modern Grout Twist
The backsplash features classic white subway tiles. They’re always in style and brighten the space. To add depth, we used warm grey grout. It’s a subtle twist but makes the tiles pop, for a modern edge.
Finishing Touches: Hardware and Lighting Details
Transforming a 70’s kitchen is about more than just new cabinets and countertops. The little details like hardware and lighting play a pivotal role in the overall look and feel of the space. They may seem small, but these finishing touches can significantly influence the aesthetics and functionality of your kitchen.
Selecting Stylish Hardware for a Polished Look
Choosing the right hardware is crucial for giving your cabinets a pop of personality and elegance. It’s the jewelry of the kitchen, so to speak. We opted for knobs and pulls that balance classic charm with a modern twist, catering to the two-tone cabinetry design. Matte or brushed finishes in metals that complement the overall color scheme—such as bronze, nickel, or champagne gold—bring both style and cohesion to the space. Remember, consistency in hardware shapes and sizes helps to maintain a harmonious design.
Upgrading with Transitional Lighting Fixtures
Lighting is not only essential for functionality but also sets the mood of your kitchen. Updated lighting fixtures can showcase your kitchen’s best features. We chose transitional light fixtures that blend traditional and contemporary styles, fitting the new mixed-era aesthetic. Pendant lights over the island offer task lighting and serve as a stylish focal point, while under-cabinet lighting ensures no corner is left in the dark. Selecting fixtures with adjustable brightness will provide flexibility, catering to both lively family gatherings and quiet evenings.
Maximizing Function and Storage: Practical Enhancements
To make the most of a 70’s old kitchen cabinets makeover, focusing on function and storage is vital. Our enhancements improved the kitchen’s usability and visual flow.
Custom DIY Fridge Panel for an Integrated Look
To create a seamless look, we crafted a custom DIY fridge panel. It gives the fridge a built-in look, merging it with the cabinetry. Painting it the same color as the cabinets adds to the cohesive feel.
The space above the fridge often goes unused. We designed a storage nook above with easy access to stylish baskets. This provides the homeowners with extra space to store items without clutter.

Crown Molding and Trim Work for Elegance and Cohesion
Adding trim changes a room’s feel. Crown molding was key for a touch of elegance. We installed it atop the cabinets, creating height and a finished appearance.
The trim also tied the room together, connecting elements with a consistent style. It made the cabinets look custom, elevating the overall design. Painting the molding to match the cabinets ensured a uniform look.
Every element in these enhancements aimed to balance practicality with aesthetic value. The result was a kitchen that worked better for the homeowners and looked refined.
Finishing Touches
Adding a Protective Coat
To enhance durability and protect your newly painted cabinets, consider adding a protective topcoat. Here’s how to do it:
- Choose the Right Topcoat: Look for a polyurethane or water-based sealer designed for furniture. This will protect your cabinets from moisture and wear.
- Apply the Topcoat: Use a clean brush or roller to apply the topcoat in thin, even layers. Follow the manufacturer’s instructions for drying times and number of coats.
- Allow to Cure: Just like with the paint, let the topcoat cure for at least 24 hours before using the cabinets.
Adding Decorative Elements
After your cabinets are complete, consider adding some decorative elements to enhance the overall look of your kitchen:
- Open Shelving: If you have space, consider adding open shelves above the cabinets to display decorative dishes, cookbooks, or plants.
- Backsplash: A new backsplash can add color and texture to your kitchen. Choose tiles that complement your cabinet color for a cohesive look.
- Lighting: Update your kitchen lighting with stylish fixtures. Pendant lights over an island or under-cabinet lighting can brighten up the space and highlight your beautiful cabinets.
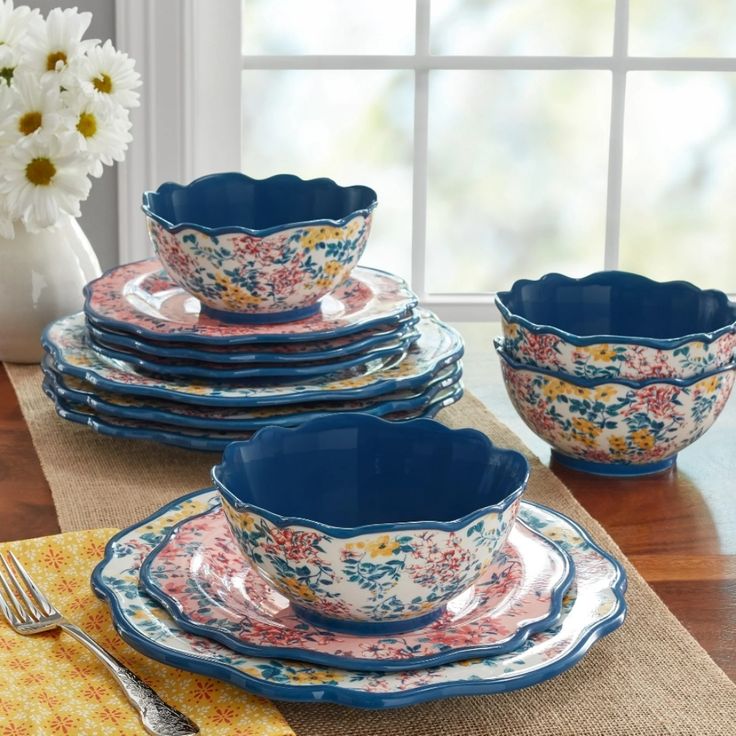
- Accessorize: Add decorative items like bowls, vases, or framed art on countertops to bring personality to your kitchen.
- Flooring: If your kitchen floor is also in need of an update, consider new flooring that coordinates with your cabinets. Vinyl, tile, or hardwood can dramatically change the room’s appearance.
Enjoying Your New Kitchen
Once your cabinet makeover is complete, take a moment to step back and appreciate your hard work. Your updated kitchen should reflect your style and function better for your needs.
Don’t forget to maintain your cabinets! Clean them regularly with mild soap and water, avoiding harsh chemicals that can damage the finish. Touch up any areas that show wear, and enjoy your beautiful, revitalized kitchen!