Installing kitchen cabinets is a major undertaking that can drastically transform the heart of your home. It’s a project that requires meticulous planning, precise measurements, and a combination of DIY skills and patience. This comprehensive guide will lead you through every stage of the process, empowering you to successfully install kitchen cabinets and create a space that is both functional and beautiful.
 Common types of kitchen cabinets:
Here are the most common types of kitchen cabinets:
Construction:
- Frameless: These cabinets have no face frame, making them more contemporary looking and maximizing storage space. They are often made with European style hinges, and doors are attached directly to the cabinet box.
- Framed: These cabinets feature a face frame surrounding the cabinet box, offering a more traditional look. They can use either inset or overlay doors.
Door Styl
- Shaker: A classic and versatile style with a simple, rectangular frame and a flat center panel.
- Raised Panel: These doors have a raised center panel, creating a more traditional and elegant look.
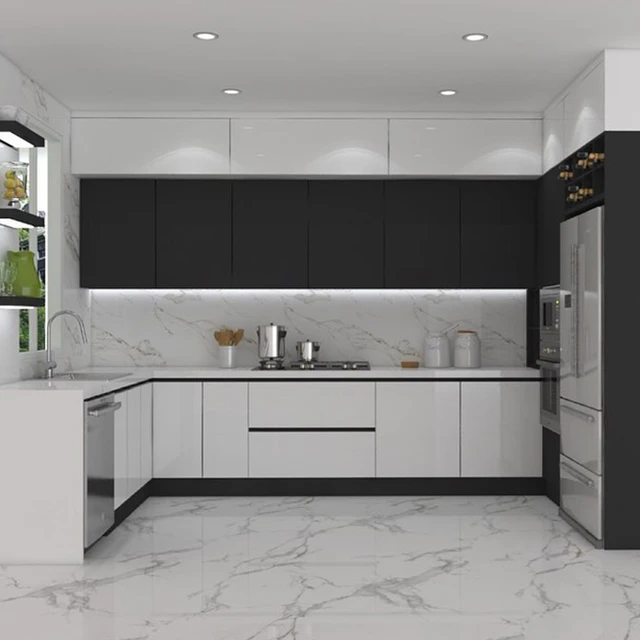
- Slab: Simple, modern, and sleek with a flat, solid door.
- Beaded: Featuring a decorative beading along the edges of the door, adding a touch of classic charm.
- Glass-front: These doors feature glass panels, allowing you to showcase your beautiful dishes and glassware.
Function:
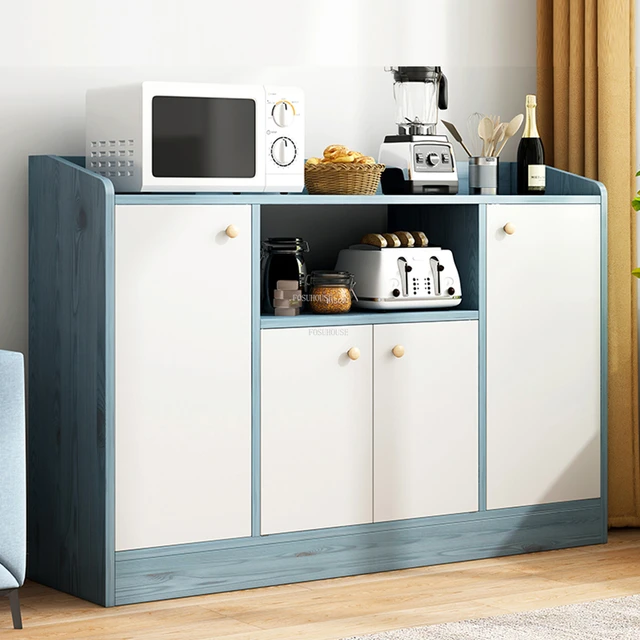
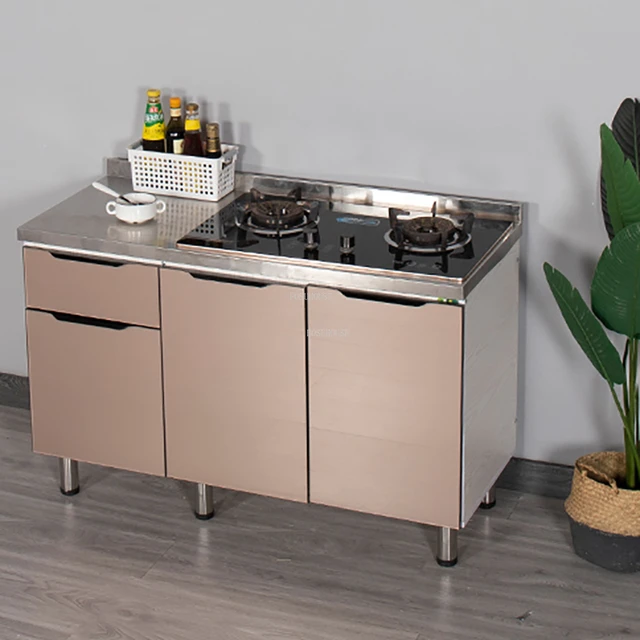
- Base Cabinets: These are the lower cabinets that are typically used for storage of pots, pans, appliances, and other kitchen necessities.
- Wall Cabinets: These are the upper cabinets that are mounted on the wall, typically used for storing dishes, glasses, and other items.
- Tall Cabinets: These are cabinets that extend from the floor to the ceiling, providing ample storage for large items like appliances or pantry items.
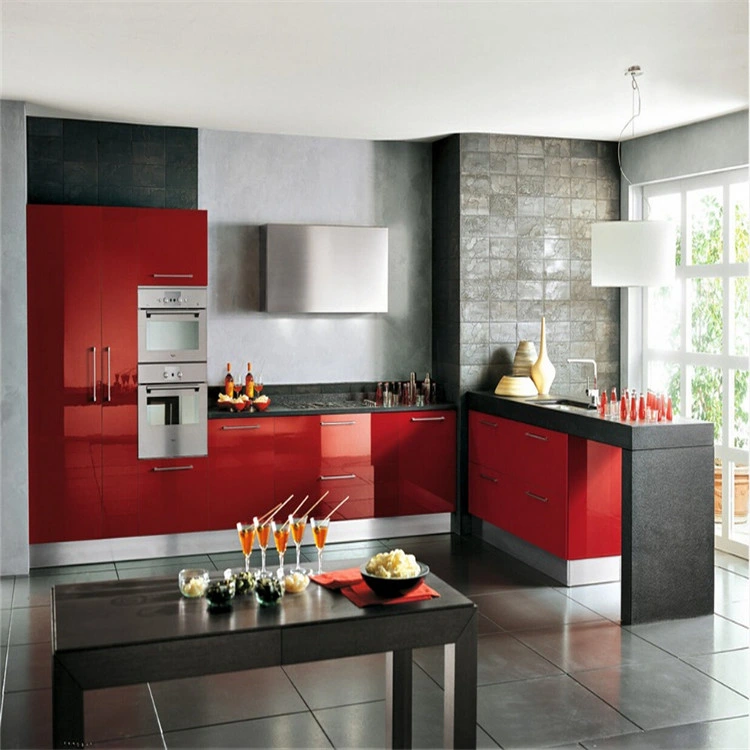
- Island Cabinets: These are cabinets that are typically located in the center of the kitchen island, providing additional storage and countertop space.
- Specialty Cabinets: These include corner cabinets, lazy Susans, spice racks, and other unique designs to accommodate specific storage needs.
Material:
- Wood: The most traditional and popular option, offering a wide variety of wood species and finishes.
- Plywood: Offers durability and affordability, often used for cabinet boxes.
- Melamine: A budget-friendly option that is resistant to moisture and scratches.
- Thermofoil: A laminate covering that is available in a variety of colors and finishes, often mimicking wood grain.
- Acrylic: A modern option that is glossy, easy to clean, and offers a variety of colors.
This is just a brief overview of the many types of kitchen cabinets available. Choosing the right type of cabinet for your kitchen will depend on your style, budget, and storage needs.
 Planning is Key: Laying the Foundation for Success
Before you even think about picking up a screwdriver, a thorough planning phase is crucial. It sets the stage for a smooth installation process and ensures your kitchen cabinet dreams become reality.
1. Define Your Needs and Budget:
- Cabinet Type: Consider your lifestyle, cooking habits, and storage needs. Do you need lots of drawers for utensils and cookware? Do you prefer open shelving for display and easy access?
- Cabinet Style: Decide on the aesthetic you desire. From sleek contemporary to traditional farmhouse, the style of your cabinets will set the tone for the entire kitchen.
- Material: Cabinet materials range from budget-friendly particleboard to durable wood. Consider your budget, desired longevity, and environmental impact.
- Budget: Set a realistic budget and allocate funds for cabinets, hardware, tools, and any unexpected costs.
2. Measure Your Space:
- Accurate Dimensions: Measure the entire kitchen space carefully, including wall dimensions, existing appliances, and windows.
- Consider Appliances: Account for the size and placement of your refrigerator, dishwasher, stove, and any other built-in appliances.
- Draw a Floor Plan: Create a detailed floor plan that includes the dimensions of your cabinets, appliances, and any other fixed elements.
3. Cabinet Layout:
- Function and Flow: Plan your cabinet layout to maximize functionality. Ensure you have enough storage space and that the layout allows for easy movement around the kitchen.
- Work Triangle: Consider the work triangle, which connects the sink, refrigerator, and stove. Ideally, the distances between these points should be between 4 and 13 feet for efficient workflow.
- Visual Appeal: Think about the visual impact of your layout. A well-planned layout will enhance the overall look and feel of your kitchen.
 Getting Ready: Preparing for install kitchen cabinets
With your planning complete, it’s time to prepare for the installation itself. This includes gathering the necessary tools and supplies, ensuring your walls are ready, and taking any necessary precautions.
1. Gather Your Tools and Materials:
- Essential Tools: This includes a stud finder, level, tape measure, pencil, hammer, drill, drill bits, circular saw, jigsaw, safety glasses, work gloves, and a ladder.
- Hardware: Ensure you have enough screws, hinges, drawer slides, cabinet handles, and other necessary hardware.
- Materials: Prepare the necessary materials for walls, such as plywood for backer boards, drywall screws, and construction adhesive.
2. Wall Preparation:
- Even and Smooth: Ensure your walls are even and smooth for a perfect cabinet installation. Patch any cracks or holes with drywall compound and allow it to dry completely.
- Stud Location: Use a stud finder to identify the location of wall studs. This is essential for securing cabinets firmly to the wall.
3. Safety First:
- Eye Protection: Always wear safety glasses to protect your eyes from flying debris.
- Proper Ventilation: Ensure adequate ventilation when working with power tools or adhesives.
- Secure Work Area: Clear the work area of clutter and ensure stability while working on a ladder or scaffold.
Installation Stages: A Step-by-Step Guide
Now comes the exciting part – the actual installation of your kitchen cabinets. It’s a process that requires precision and patience, but it’s also incredibly rewarding.
1. Install Base Cabinets:
- Start with a Level Base: Use shims to level the base cabinets precisely. Ensure they are plumb and square before securing them to the wall.
- Install Lower Cabinets: Follow the manufacturer’s instructions for mounting the lower cabinets to the wall studs.
- Check for Evenness: Double-check the levelness and alignment of the cabinets after installation.
2. Install Upper Cabinets:
- Marking Cabinet Placement: Carefully mark the wall where the upper cabinets will be installed, ensuring they are level with the lower cabinets.
- Attaching to Wall Studs: Secure the upper cabinets to the wall studs using screws or brackets.
- Using Support Brackets: For added stability, especially for large or heavy upper cabinets, install support brackets between the wall and the underside of the upper cabinets.
3. Install Countertop:
- Measure and Cut: Measure and cut the countertop to the exact size of your kitchen layout.
- Attaching the Countertop: Use construction adhesive and screws to securely attach the countertop to the base cabinets.
- Check for Level and Alignment: Ensure the countertop is level, plumb, and aligned with the cabinets before permanently securing it.
4. Install Backsplash:
- Prepare the Wall: Clean and prepare the wall area behind the countertop for the backsplash.
- Install the Backsplash: Follow the manufacturer’s instructions for installing the backsplash. This may involve using adhesive, grout, or mortar depending on the type of backsplash material.
5. Install Doors and Drawers:
- Install Hinges: Install the hinges on the doors and cabinets according to the manufacturer’s instructions.
- Adjust Door Alignment: Once the doors are installed, adjust the hinges to ensure that they open and close smoothly and are aligned with the cabinet frames.
- Install Drawer Slides and Drawers: Install the drawer slides in the cabinet and then mount the drawers to the slides.
6. Install Cabinet Hardware:
- Cabinet Knobs and Pulls: Attach the chosen cabinet hardware to the doors and drawers.
7. Finish and Decorate:
- Final Touches: Add the finishing touches, such as cabinet trim, molding, and any decorative elements.
- Clean Up: Clean up any dust or debris from the installation process.
 Finishing Touches and Maintenance-install kitchen cabinets
Your kitchen cabinets are now installed, but the work isn’t quite over. Taking care of a few final details and establishing a maintenance routine will ensure your cabinets remain beautiful and functional for years to come.
1. Final Inspections-install kitchen cabinets
- Functionality: Thoroughly test all doors, drawers, and other cabinet components to ensure everything functions smoothly.
- Aesthetics: Inspect the cabinets for any blemishes or imperfections. Make any necessary adjustments or repairs before moving on.
2. Maintenance-install kitchen cabinets
- Regular Cleaning: Clean your kitchen cabinets regularly with a damp cloth and mild detergent. Avoid harsh chemicals or abrasive cleaners.
- Protecting Wood Cabinets: For wood cabinets, apply a protective sealant or wax to maintain their finish and resist scratches.
- Addressing Issues Promptly: Address any issues such as loose hinges, sticky drawers, or warped doors promptly to prevent further damage.
 Conclusion: The Joy of a Customized Kitchen
Installing kitchen cabinets is a challenging but rewarding project. It’s an investment in your home that will pay off in both functionality and aesthetics. With careful planning, meticulous execution, and a touch of DIY pride, you can transform your kitchen into a beautiful and functional space that reflects your personal style and enhances your everyday life.