kitchen faucet head replacement
When it comes to kitchen fixtures, the faucet is among the most frequently used. A well-functioning faucet can make cooking and cleaning much easier. However, over time, the faucet head may wear out or become damaged. This guide will help you understand the process of replacing your kitchen faucet head.
 Understanding the Kitchen Faucet Head
What is a Faucet Head?
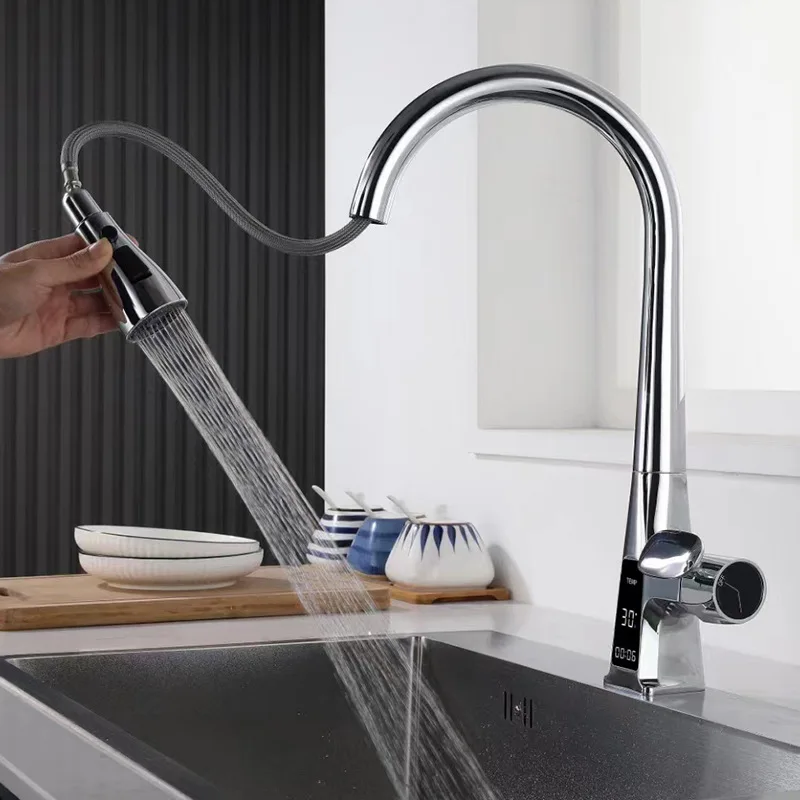
The faucet head, also known as the spray head or aerator, is the part of the faucet that dispenses water. It can have various functionalities, such as a pull-down sprayer, a pull-out sprayer, or a stationary aerator. Each type has its benefits.
Why Replace the Faucet Head?
Several reasons may prompt you to replace your kitchen faucet head:
- Leaking: Over time, you might notice water leaking from the head.
- Low Water Pressure: An old or clogged faucet head can lead to diminished water pressure.
- Aesthetic Reasons: Updating your kitchen can involve changing the faucet head to match new décor.
- Functionality: A malfunctioning sprayer might not work properly, making kitchen tasks more difficult.
Tools and Materials Needed
Before you begin, gather the necessary tools and materials. Preparation is key to a smooth replacement process.
Tools Required
- Adjustable Wrench: For loosening and tightening fittings.
- Screwdriver: Depending on the type of screws used, a Phillips or flat-head screwdriver may be needed.
- Plumber’s Tape: This helps create a tight seal to prevent leaks.
- Towel or Rag: To catch any water that may spill during replacement.
Materials Required
- Replacement Faucet Head: Make sure it is compatible with your existing faucet.
- Replacement Washers or O-Rings: These may be necessary depending on the wear and tear of your old faucet head.
 Step-by-Step Replacement Process
Step 1: Turn Off Water Supply
Before you start the replacement, ensure that the water supply to the faucet is turned off. You can usually find shut-off valves under the sink. Twist these valves clockwise until they are fully closed.
Step 2: Prepare the Area
Clear the area around your sink to have enough room to work. Lay down a towel to catch any spills, and organize your tools and new faucet head nearby.
Step 3: Remove the Old Faucet Head
- Detach the Sprayer Hose: If your faucet has a pull-down or pull-out sprayer, pull it out gently. Look for a connection point under the sink. You may need to loosen a clip or unscrew it.
- Unscrew the Faucet Head: Use the adjustable wrench to grip the base of the faucet head. Turn it counterclockwise to remove.
- Check for Additional Parts: If there are extra components, such as a weight or a locking clip, remove these as well.
Step 4: Inspect the Components
Before installing the new faucet head, check the existing parts. Look for any wear on washers or O-rings. If any components seem damaged, replace them for a better seal.
Step 5: Attach the New Faucet Head
- Wrap Plumber’s Tape: Take the threads of the faucet neck and wrap them with plumber’s tape. This will help prevent dripping.
- Screw on the New Head: Position the new faucet head on the neck. Start to turn it clockwise by hand. Once it feels snug, use the wrench to tighten it further.
- Reconnect the Sprayer Hose: If applicable, reattach the sprayer hose, ensuring it’s secure and doesn’t have any kinks.
Step 6: Turn on the Water Supply
Go back under the sink and carefully turn the shut-off valves counterclockwise to restore the water supply.
Step 7: Check for Leaks
Once the water is back on, turn on the faucet to check for any leaks. Run water for a minute. Check the joints and connections carefully. If you see any leaking, you may need to turn off the water, remove the head, and refit it with additional plumber’s tape.
Step 8: Enjoy Your New Faucet Head
After confirming there are no leaks, your installation is complete. Enjoy using your newly replaced faucet head!
 Maintenance Tips for Your Faucet Head
Regular Cleaning
Clean your faucet head regularly to avoid buildup of mineral deposits. Soak a cloth in vinegar and wrap it around the faucet head for a few hours. This helps dissolve the deposits and keeps the water flowing freely.
Monitor Performance
Keep an eye on how the faucet head performs over time. If you notice reduced water pressure or leaks again, act quickly. It’s often easier to address these issues sooner rather than later.
Replace Components as Needed
If your faucet head includes several moving parts, check these parts periodically. Washers and O-rings may need replacement every few years.
 Common Problems and Solutions
Reduced Water Pressure
If you notice reduced water flow after replacing the faucet head, there could be a few reasons:
- Clogged Aerator: Remove the aerator and clean it.
- Kinked Hose: Check the hose for kinks or twists that could block water flow.
Water Leaks
Leaks may occur if the faucet head is not fitted tightly or if old washers are used. Re-check all connections and ensure snug fittings.
Difficult to Change Settings
If your pull-down sprayer is stuck or doesn’t switch settings easily, it may need lubricating. A silicone lubricant can help ease any movement.
Conclusion
Replacing your kitchen faucet head is a straightforward task that can make a significant difference in your kitchen experience. Armed with the right tools and a bit of patience, you can restore your faucet’s functionality with ease.
Remember to perform regular maintenance and monitor the faucet’s performance. Should you encounter issues, troubleshoot them promptly to avoid costly repairs down the road.
The trends in kitchen faucets:
The trends in kitchen faucets have been evolving to meet both aesthetic preferences and functional needs. Here are some current popular trends:
Smart Technology: Many faucets now feature touchless operation, allowing users to turn on the water with a wave of their hand or through voice commands. This not only adds convenience but also promotes hygiene.
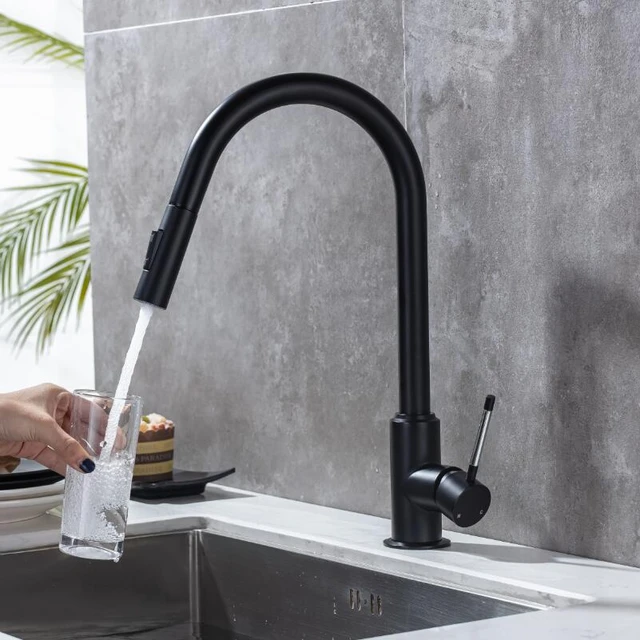
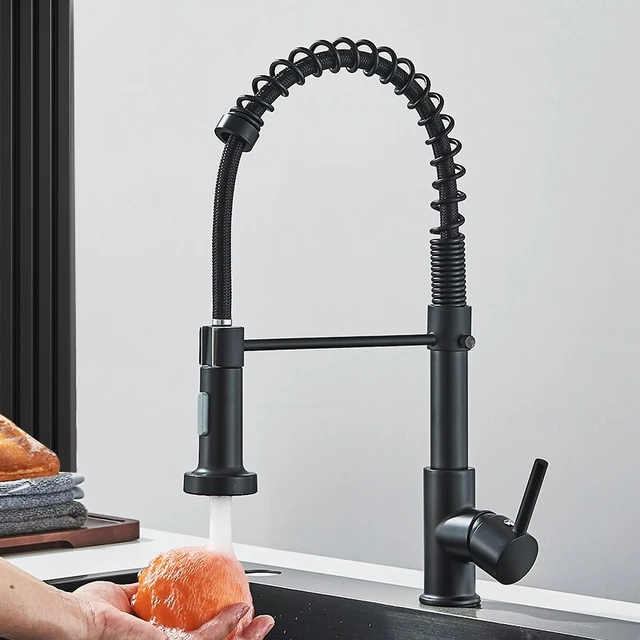
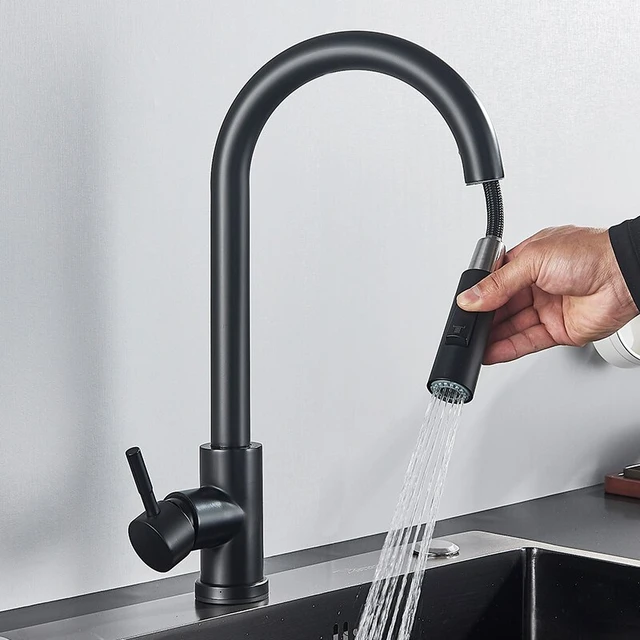
Sleek and Minimalist Designs: Clean lines and minimalist designs are in vogue, often integrating seamlessly into modern kitchen aesthetics. Matte black, brushed nickel, and gold finishes are particularly popular.
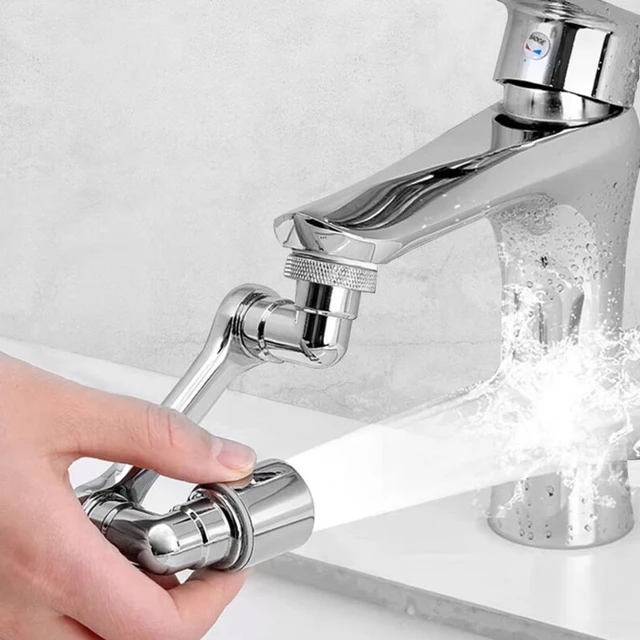
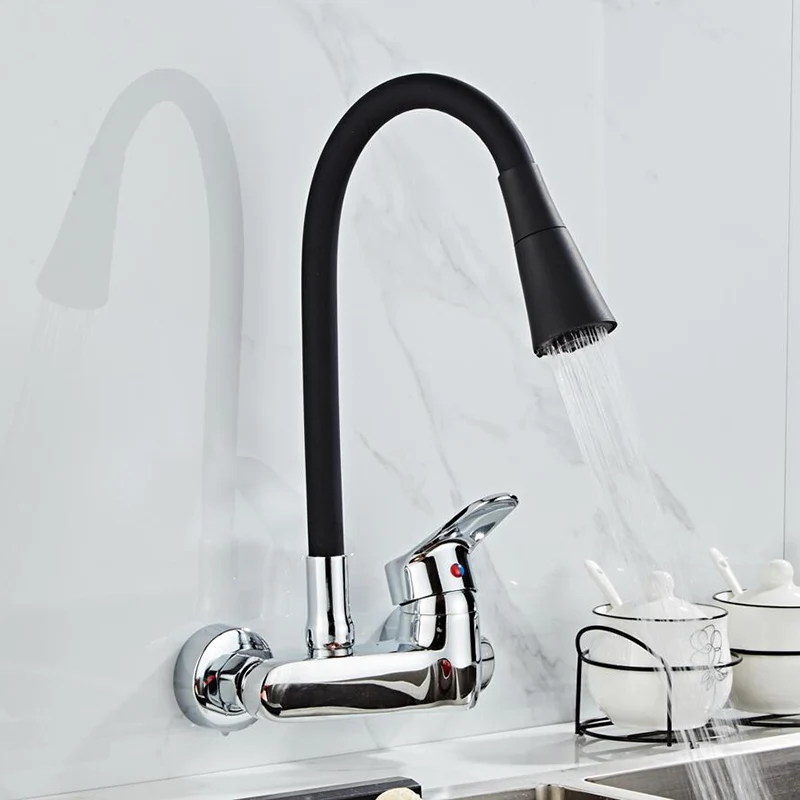
Pull-Down and Pull-Out Sprayers: These designs enhance usability by providing flexibility in directing water flow, making it easier to wash pots and pans or rinse vegetables.
High-Arc Spouts: High-arc faucets provide more clearance for filling large pots and make it easier to work in the sink area.
Dual Functionality: Some models offer multiple spray settings, including options for a steady stream and a more powerful spray for cleaning.
Eco-Friendly Options: Water efficiency is a significant concern, and many manufacturers are focusing on creating faucets that reduce water usage without sacrificing performance.
Vintage and Rustic Styles: While modern looks dominate, there is also a trend toward vintage-inspired designs, featuring ornate details and finishes that add character to the kitchen.
Integrated Water Filters: Some faucets come with built-in water filtration systems, allowing for easy access to clean water without the need for separate filtration units.
These trends reflect a growing emphasis on functionality, sustainability, and design to enhance the kitchen experience.
Consider the following important tips:
When replacing a kitchen faucet head, consider the following important tips:
- Compatibility: Ensure that the new faucet head is compatible with your existing faucet. Check the connection type (threaded, snap-on) and size.
- Water Supply: Turn off the water supply to avoid any leaks or spills during the replacement process.
- Cleaning: Clean any mineral deposits or debris from the faucet neck and the area where the new head will attach.
- Tools: Gather necessary tools such as an adjustable wrench, pliers, and a towel for drying.
- Follow Instructions: Read the manufacturer’s instructions carefully for installation specifics.
-
Sealant: Consider using plumber’s tape on threaded connections to ensure a tight seal and prevent leaks.
- Testing: After installation, turn the water supply back on and check for leaks. Test the faucet head to ensure it works correctly.
- Warranty: Keep any warranty information for the new faucet head in case future issues arise.
By following these tips, you can safely and effectively replace your kitchen faucet head.
Final Thoughts
Incorporating small updates, like changing the faucet head, can enhance the functionality of your kitchen. Whether you are looking for efficiency, aesthetics, or both, this task is rewarding. Follow this guide closely, and your kitchen will continue to serve you well for years to come.