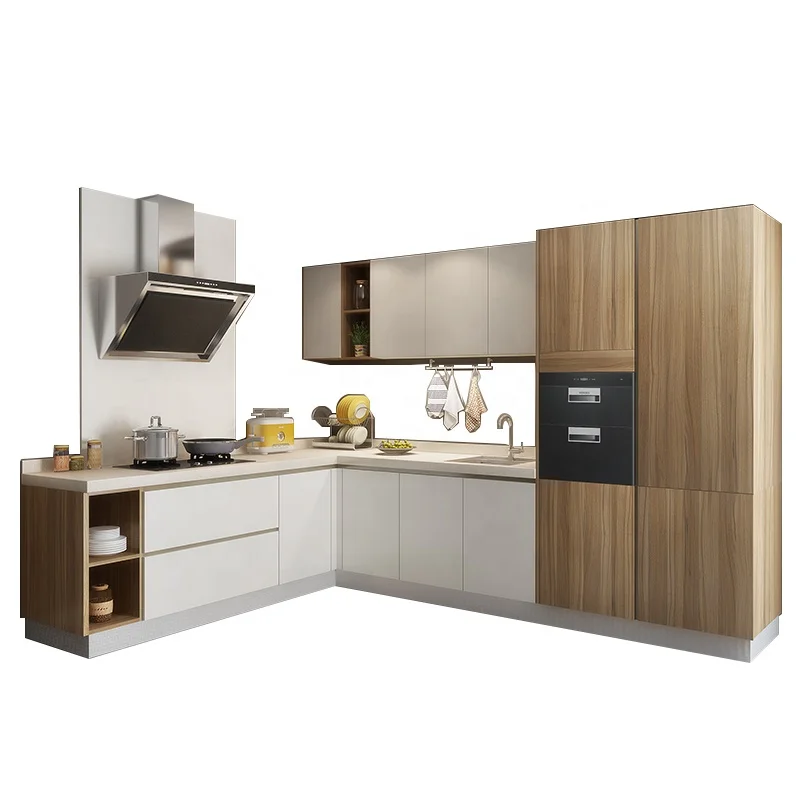
Making your own cabinets can be a rewarding and cost-effective project. Whether you’re looking to create kitchen cabinets, bathroom cabinets, or storage cabinets for any other room, this guide will walk you through the process step by step. With clear, concise instructions and useful tips, you’ll be able to produce attractive and sturdy cabinets in no time.
 Some common materials used for cabinetry include:
Cabinets can be made from a variety of materials, each offering different advantages in terms of aesthetics, durability, and cost. Some common materials used for cabinetry include:
Solid Wood:
Often considered the most traditional and durable option, solid wood cabinets are available in various types like oak, maple, cherry, and birch. They offer a natural and high-end appearance but can be quite expensive.
Plywood:
This engineered wood is made by gluing together thin layers of wood veneer. It is a popular choice for cabinets due to its strength and resistance to warping. Plywood cabinets are durable and generally more cost-effective than solid wood.
Medium-Density Fiberboard (MDF):
MDF is an engineered wood product made from wood fibers and resin. It is smoother and more uniform than plywood or particleboard, making it an excellent choice for painted cabinets. However, it is not as water-resistant as other materials.
Particleboard:
Made from wood chips, sawdust, and resin, particleboard is a budget-friendly option. It is less durable than plywood or solid wood and is more susceptible to moisture damage.
Laminate:
Typically applied over particleboard or MDF, laminate is a durable, easy-to-clean material available in a variety of colors and patterns. It can mimic the look of wood but is often more affordable.
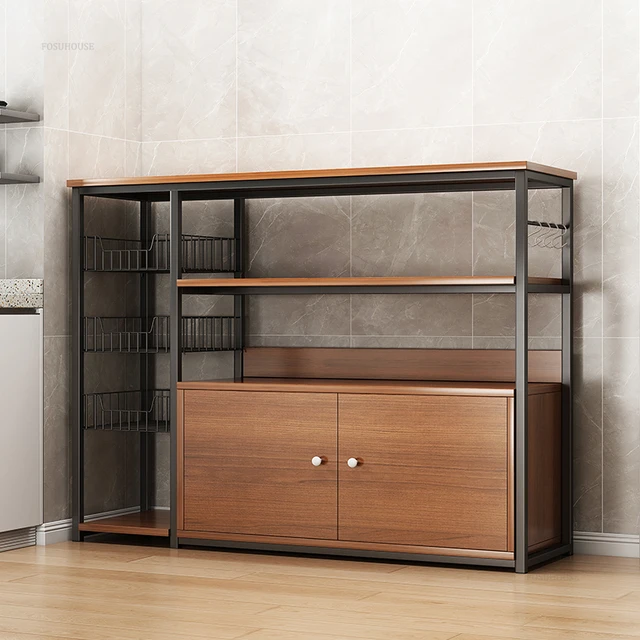
Metal:
Stainless steel or aluminum cabinets are often used in industrial or ultra-modern kitchen designs. They are highly durable and resistant to heat and moisture but can be quite expensive and may show fingerprints and scratches easily.
Thermofoil:
This is a vinyl film applied to MDF or particleboard, providing a durable, easy-to-clean surface. Thermofoil cabinets are available in a wide range of colors and styles but may be prone to peeling over time.
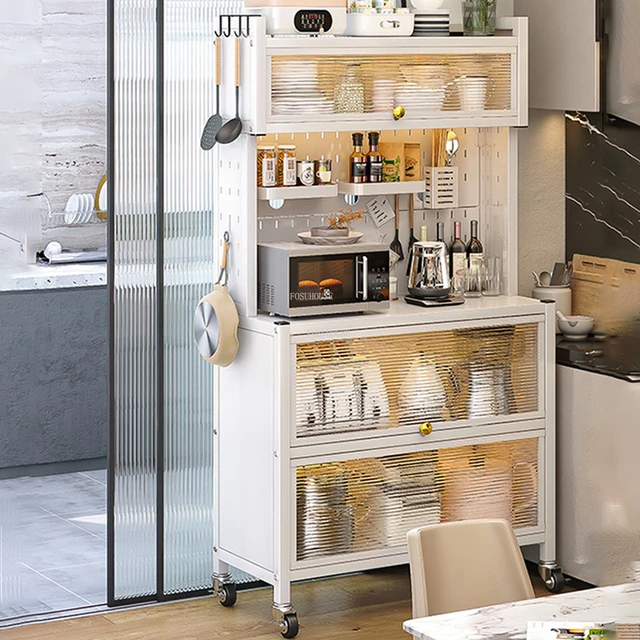
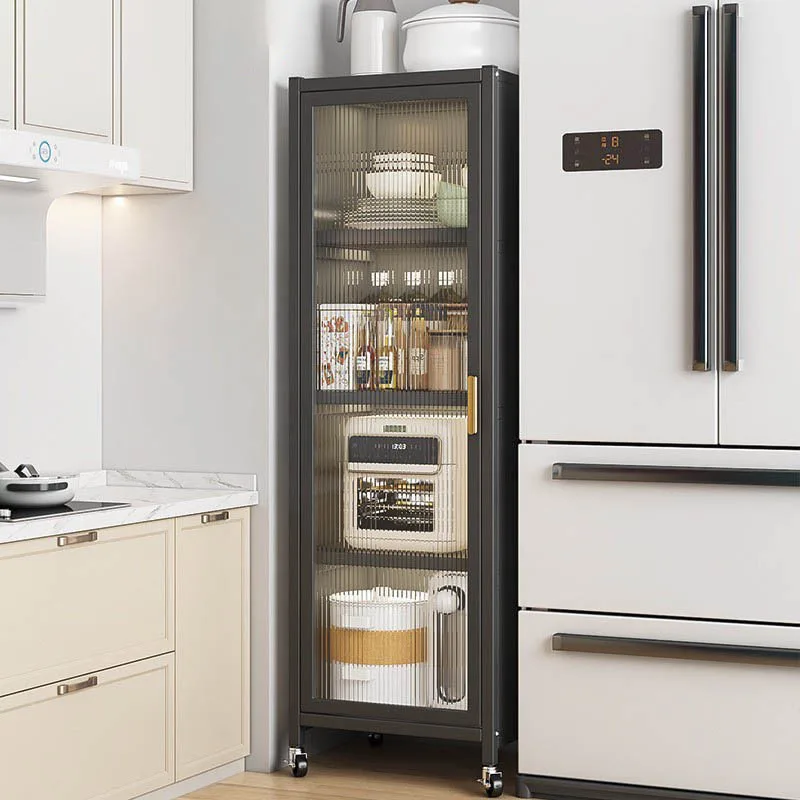
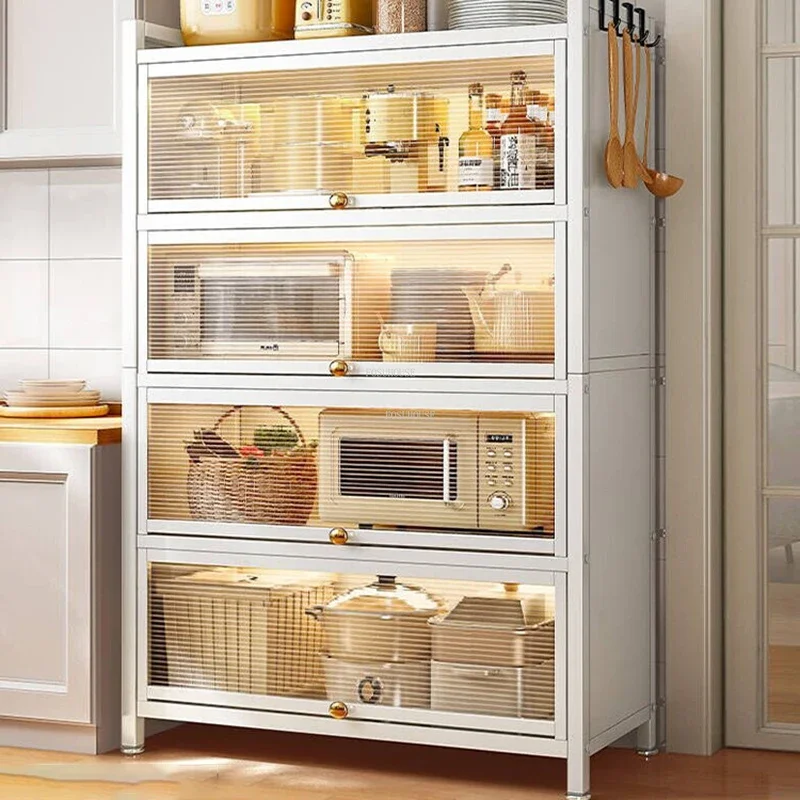
Glass:
Often used in combination with other materials like wood or metal, glass cabinet doors can add a modern and elegant touch to cabinetry. They can be clear, frosted, or textured.
Choosing the right material for your cabinets depends on your budget, the style you want to achieve, and the wear and tear you expect the cabinets to endure.
 Materials and Tools Needed
Essential Materials
- Plywood sheets
- Solid wood boards
- Wood glue
- Screws
- Nails
- Hinges
- Handles or knobs
- Sandpaper
Essential Tools
- Measuring tape
- Circular saw or table saw
- Drill
- Screwdriver
- Clamps
- Hammer
- Level
- Paint or stain brushes
Planning and Measuring
Determine the Size
Start by measuring the space where you intend to install the cabinets. Consider the height, width, and depth. Make sure to leave some room for opening the cabinet doors comfortably.
Sketch Your Design
Draw a simple sketch of the cabinet’s design. Divide your sketch into compartments if you want multiple sections. This will help you to keep your project organized.
Create a Cut List
Before you begin cutting any materials, create a detailed cut list. This list includes all the pieces of wood you’ll need, along with their measurements. Verify your measurements twice to avoid mistakes.
 Cutting the Wood
Plywood Sheets
Cut the plywood sheets according to the measurements you’ve noted in your cut list. For the cabinet sides, top, bottom, and shelves, use a table saw or circular saw. Ensure that you cut the panels in straight lines for a clean finish.
Solid Wood Boards
Solid wood boards typically make up the cabinet’s face frame. Cut these pieces with precise measurements, ensuring all edges are smooth.
Safety First
Always wear safety glasses and use protective equipment when cutting wood. Double-check the placement of your fingers and hands to avoid injuries.
Assembly
Constructing the Cabinet Box
- Start with the Sides: Attach the side panels to the bottom panel using wood glue and screws. Use clamps to hold the pieces in place as the glue dries.
- Add the Top Panel: Once the side panels are secure, add the top panel. Apply wood glue along the edges and fasten with screws.
- Attach the Back Panel: Align the back panel with the edges of the sides, top, and bottom, then attach it using screws or nails.
Constructing the Face Frame
- Measure and Cut: Cut the pieces for the face frame according to your measurements.
- Assemble: Lay out the pieces on a flat surface, then glue and screw them together.
- Attach to Cabinet Box: Once the face frame is assembled, attach it to the front of the cabinet box using wood glue and screws. Be sure it is flush with the edges of the box.
Adding Shelves
Insert the shelves by securing them with screws from the outside of the cabinet box. If your design includes adjustable shelves, consider using shelf pins and pinholes.
Finishing Touches
Sanding
Sand all surfaces thoroughly with sandpaper to remove any rough spots, splinters, or excess glue. Start with a coarse grit sandpaper and move to a finer grit for a smooth finish.
Applying Paint or Stain
- Preparation: Wipe down the cabinet with a damp cloth to remove dust from sanding.
- Application: Apply a coat of primer if painting, then paint or stain as desired. Use long, even strokes to avoid streaks.
- Drying: Let the paint or stain dry completely. This may take several hours, depending on the product used.
Installing Hardware
Attach hinges to the cabinet doors and then attach the doors to the cabinet box. Install handles or knobs according to your design preference. Ensure all hardware is aligned and secured properly.
 Installation
Mounting to the Wall
- Find Studs: Use a stud finder to locate the wall studs where you’ll mount the cabinet.
- Mark and Drill: Mark the stud positions on the inside of the cabinet, then drill pilot holes.
- Attach Cabinets: Lift the cabinet into position and screw it into the wall studs through the pilot holes. Use a level to ensure the cabinet is straight.
Final Adjustments
Make any necessary final adjustments to ensure doors open and close smoothly. Check all screws and hardware one last time to confirm everything is securely in place.
Maintenance and Care
Regular Cleaning
Make it a habit to regularly clean your cabinets. Use a mild cleaner and a soft cloth.
Inspect Hardware
Occasionally check the cabinet hardware to ensure it remains tight. Tighten screws as needed to keep everything secure.
Touch-Ups
Keep some matching paint or stain handy for touch-ups. Address any scratches or wear promptly.
Here are some popular trends in cabinets as of 2023:
1. Sleek and Minimalistic Designs
Modern aesthetics are leaning towards clean lines and minimalistic designs. Flat-panel doors, hidden handles, and an overall streamlined look are gaining popularity.
2. Bold Colors
Neutral colors like white, gray, and beige are still prevalent, but bold colors such as navy blue, deep green, and even black are making strong statements in kitchen and bathroom cabinetry.
3. Two-Tone Cabinets
Mixing and matching two different colors or finishes within the same kitchen or bathroom is a hot trend. You might see darker color bases with lighter upper cabinets, or a combination of wood and painted finishes.
4. Sustainability and Eco-Friendly Materials
As sustainability becomes a priority, more people are choosing cabinets made from recycled materials, reclaimed wood, or those certified sustainable by various environmental organizations.
5. Smart Features and Technology
The integration of smart home technology into cabinets, like built-in charging stations, LED lighting, and even refrigerator drawers is becoming more popular.
6. Matte Finishes
Matte finishes are increasingly preferred over glossy ones. They provide a sophisticated look and are easier to maintain, as they are less likely to show fingerprints and smudges.
7. Open Shelving
While not a new trend, open shelving continues to be a popular choice for those looking to add visual interest and ease of access to everyday items.
8. Natural Wood
Natural wood finishes are making a comeback, celebrating the beauty of the wood grain and adding warmth to the overall design.
9. Mixed Materials and Textures
Combining different materials and textures, such as wood, metal, glass, and stone, adds depth and interest to cabinets, making them a focal point in the space.
10. Custom and Built-In Solutions
Custom cabinetry and built-in solutions tailor the storage to fit personal needs and space perfectly, offering not only functionality but also a bespoke, high-end look.
These trends reflect a blend of functionality, aesthetics, and sustainability that caters to a wide range of tastes and preferences.
 Conclusion
Building your own cabinets requires careful planning, accurate measurements, and diligent execution. However, the end result can be incredibly satisfying. By following the steps outlined in this guide, you can create professional-looking cabinets that will serve your needs for years to come. Happy building!